Announcement

Collapse
No announcement yet.

Can a coil be wrapped around a bar magnet with little risk of breaking?

Collapse
X
 
  • Filter
  • Time
  • Show
Clear All
new posts

  • Can a coil be wrapped around a bar magnet with little risk of breaking?

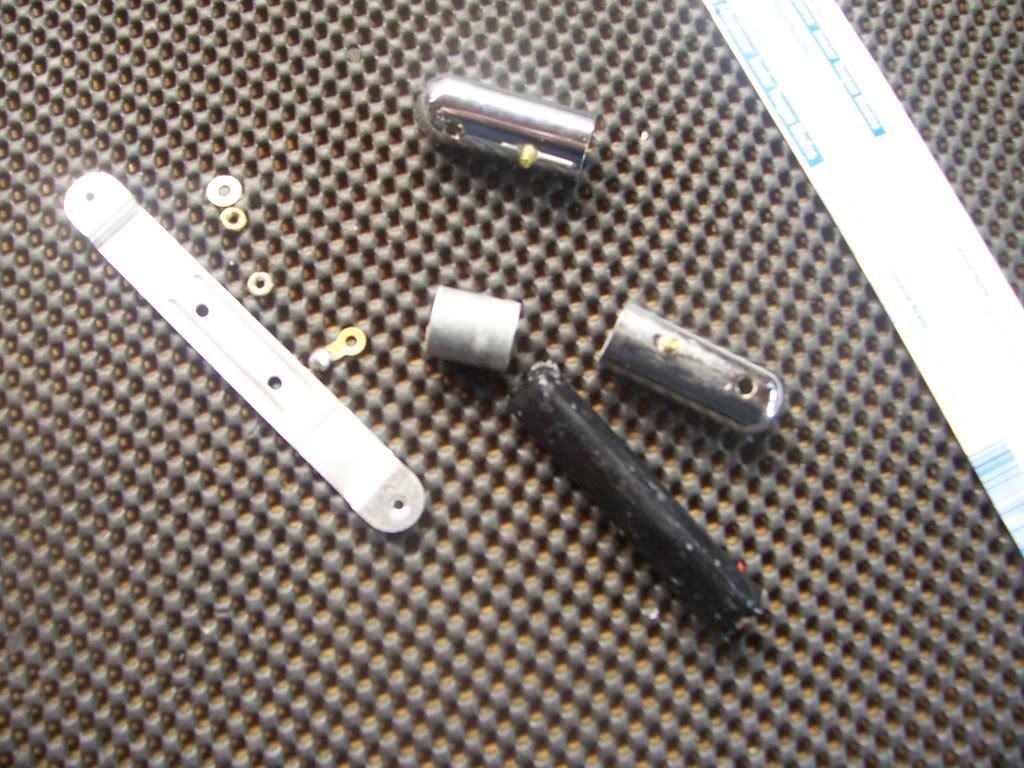
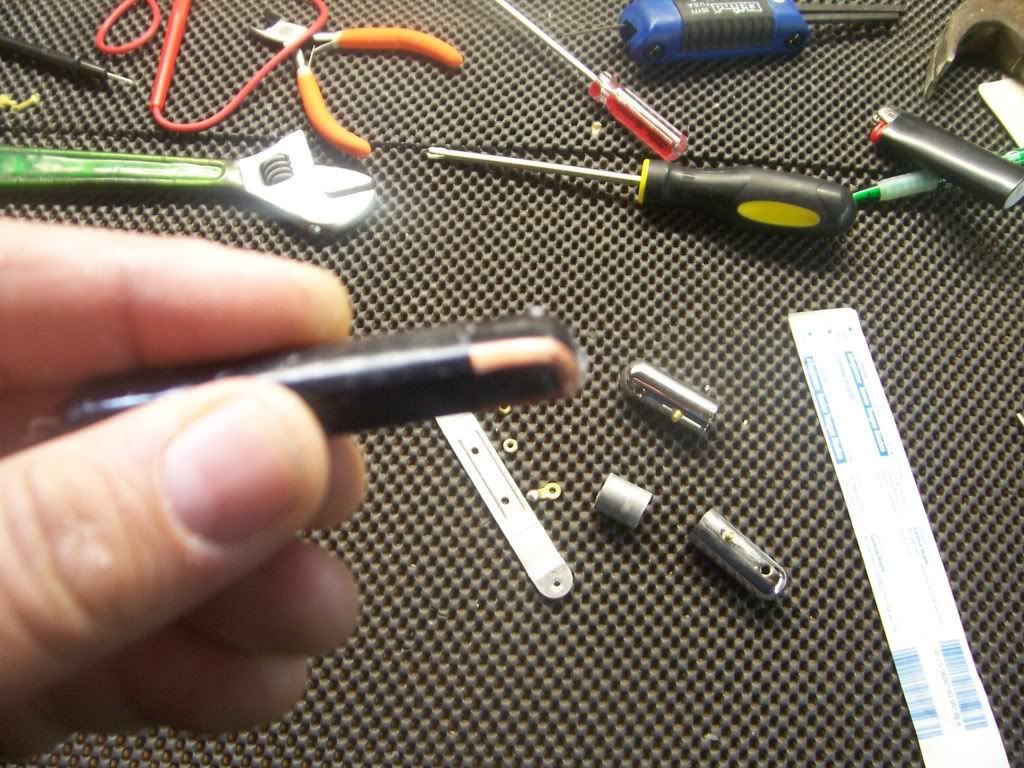
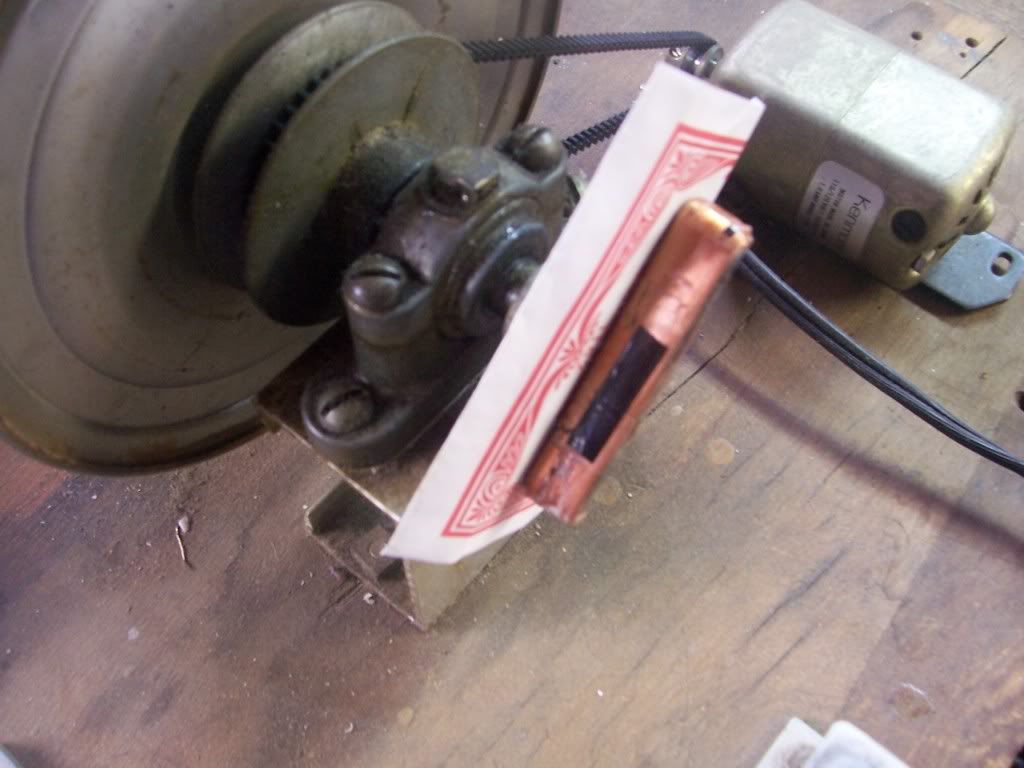
    I'm going to make a pickup similar to the one on the right, the Kay speed bump, using a HB (or two) bar magnet standing up edgeways. The magnet will be wrapped in tape prior to winding.

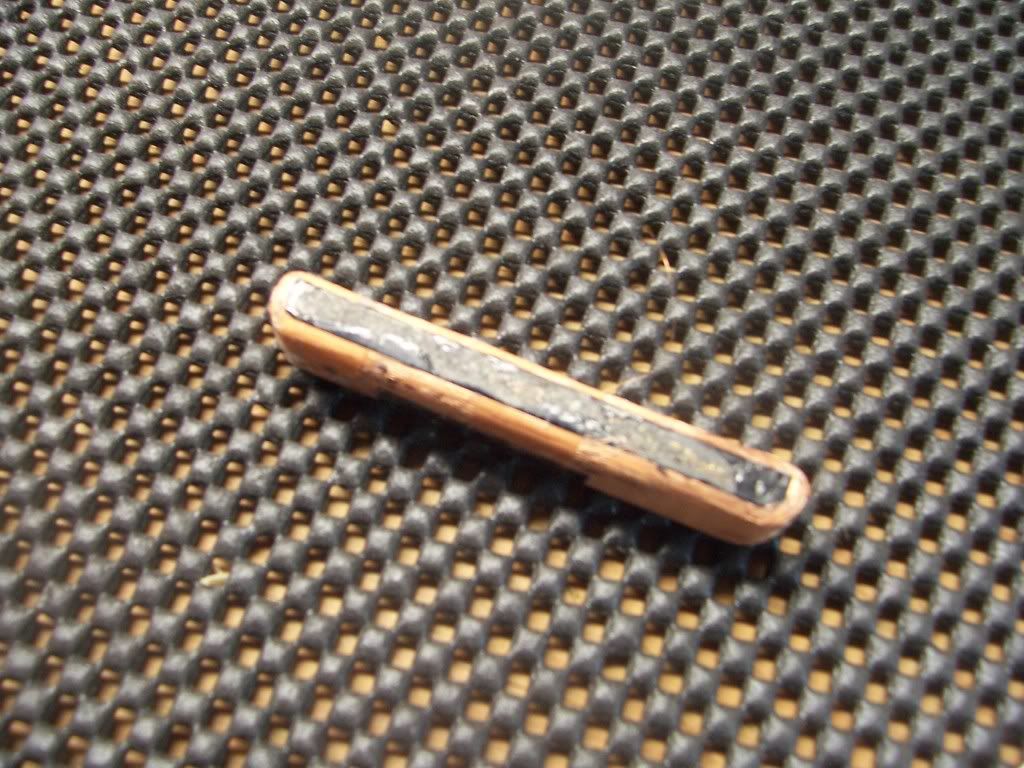
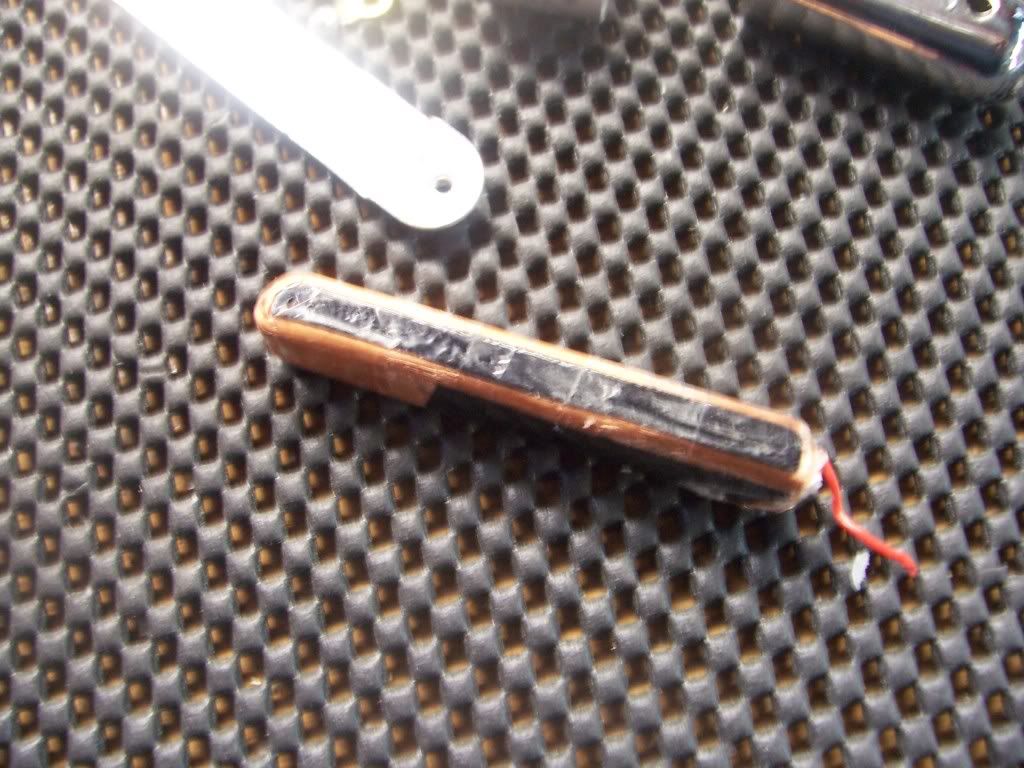
    My concern is if there's a high risk of the wire not liking the 90 degree turns on the inside of the coil. I was thinking about adding a little half-rounded pieces to the ends to make it easier on the wire, but I really need the room they would take up.

    Will it be ok winding around the corners if they're taped?
    Attached Files

  • #2
    no sweat

    All of mine are wrapped that way Glenn apart from a single layer of black tape first. I was knocking the corners off on a grindstone then remagnetising' but found it wasn't needed. Most of my stuff is 45awg but I go to 42/43/44 and still have no probs. As I said slightly round corners if you are worried but all else ok. This accounts for poly/ pe and formvar.

    Comment


    • #3
      Thanks Jonson, that's good to hear. I'll be using 42 Solderon and put an extra layer of tape on the corners.

      Comment


      • #4
        Boy that's a boat load of wax in the Speedbump!

        I second what Jonson said, as I often wind directly on steel bars. I just tape them up with black paper tape first.

        Let us know how it turns out!
        It would be possible to describe everything scientifically, but it would make no sense; it would be without meaning, as if you described a Beethoven symphony as a variation of wave pressure. — Albert Einstein


        http://coneyislandguitars.com
        www.soundcloud.com/davidravenmoon

        Comment


        • #5
          speed up

          The other thing that David will prob have noticed as well is. as the layers build the corners have gone as the radius gets bigger. You can start pushing up the speed then.

          Comment


          • #6
            Yes, that's true. I spin the first 30 or so winds by hand, and then start the motor slow, and after I get some wire on, crank up the speed.
            It would be possible to describe everything scientifically, but it would make no sense; it would be without meaning, as if you described a Beethoven symphony as a variation of wave pressure. — Albert Einstein


            http://coneyislandguitars.com
            www.soundcloud.com/davidravenmoon

            Comment


            • #7
              I'd be really curious to know how you would attach the bar mag to the winder to hold it in place while winding! If you used dbl. stick tape, wouldn't the lower layers of wire stick to the tape? Do you have to mount the magnet to some form of baseplate first? Anyone have a picture?

              Comment


              • #8
                ...

                those speed bumps were wound really loosely, probably why all the wax, low tension to stop wire breakage or shorts
                http://www.SDpickups.com
                Stephens Design Pickups

                Comment


                • #9
                  Originally posted by EFK View Post
                  I'd be really curious to know how you would attach the bar mag to the winder to hold it in place while winding! If you used dbl. stick tape, wouldn't the lower layers of wire stick to the tape? Do you have to mount the magnet to some form of baseplate first? Anyone have a picture?
                  It'll have top and bottom bobbins with the magnets double-face taped and super glued. Last night I cut the bobbins from a scrapped pickguard. I'll take some pics while I make it.

                  Comment


                  • #10
                    Originally posted by GlennW View Post
                    It'l have top and bottom bobbins with the magnets double-face taped and super glued. Last night I cut the bobbins from a scrapped pickguard. I'll take some pics while I make it.
                    Hi Glen, good project ahead! Take your time with this and it should work out. You are on the money with wrapping the mag with some tape. I suggest some pinstripe tape from any automotive store since it's flexible and thin.

                    I took some pictures of a Lipstick rewind project I am doing to show you some ideas for ya. I don't know what type of winder you are using but if your bobbin plate is steel than you may have that going for you in helping the mag stay in place (magnetic). I would also use a thing carpet tape as your adhesive not super glue. Super glue can be problematic.

                    If not, you might want to get a throw away mag and somehow mount it to your plate to help you keep yours in place as well with the tape. On this lipstick one I really can't use a major scatter wind and not go too fast since it has no real hold on the ends, it can get messy like a spool of yarn, to much scatter and you will have a coil falling apart on you fast.

                    Here's some pics if it helps..

                    This is the original lipstick after disassembling. Note the black pinstripe type tape around the finish coil. I will do the same when I am done.


                    After a little peel..


                    after peeling some of the black pinstripe tape exposing the Alnico bar.


                    Note the tape around the magnet under the wire and scotch tape around the whole thing to keep the wire in place after a wind. Like i said, it can come a big mess fast if too much scatter is used, so scotch taping after the wind is essential.


                    Now I use some hard paper in a way as not a guide but something there just in case the wire starts to come off the mag it wont be getting stuck on my tape that is holding everything on. I cut a fine piece of double sided fabric carpet tape since it's very thin and really sticky to hold the the mag but since my old plate is steel, that helps. So you might want to use a throw away mag like i said before to help. On the outside, sorry I didn't take a pic. To keep the wire from coming off use another strip of tape and some thin wood paneling.

                    All this is really nothing since you are making bobbins to go around the top and bottom of yours and that should help on keeping the wire in place... WIND IT SLOW, consistent and have fun!!! I may be forgetting something, it's Sunday and I am just working on the second cup of joe. If you have any questions feel free to call or message me.
                    Last edited by WBPickups; 03-22-2009, 05:43 PM.
                    www.wbpickups.com

                    Comment


                    • #11
                      WB, thanks for the tips and details of the lipstick tube, I've been curious about those for a long time.

                      My winding set up is very primitive. I use an eggbeater drill mounted vertically; I crank with my left hand and guide/feed the wire with my right. The mounting plate is a piece of plywood cut with a holesaw that has a machine screw countersunk in the center which goes into a T-nut and then the chuck.

                      Usually I use a little spacer block between the mounting plate and bottom bobbin; that raises the pickup so the wire won't get snagged on the mounting plate. Then I run a screw through the top of the pickup into the spacer block to hold it, but that won't work on this one.

                      At first I was thinking about just using one magnet, but I'm going to try it with two with 1/8" between them. From the end it'll look like an I-beam (double I-beam?) with two vertical parts (the magnets). Sort of like II.

                      Come to think of it, since it'll have two magnets with a space between them I might run a P-90 mounting screw through the center into the spacer block to hold it; couldn't do that with one magnet, which is why I started the thread asking about the tape.

                      I think I will get that heavy duty carpet tape for the magnets.

                      Comment


                      • #12
                        Hi All,

                        Does anyone perhaps know what kind of pickup is shown in the OP picture center ... the one with the screws?
                        Evidently, those screws must be poles poking through the cover, but I dont see a second bobbin which would indicate its a mini humbucker of some kind. How does that work?

                        Just curious as my first electric, bought in the 60's had similar pickups. It was a Carlton brand guitar.

                        Thanks much.
                        -JBF

                        Comment


                        • #13
                          Originally posted by jbforrer View Post
                          Hi All,

                          Does anyone perhaps know what kind of pickup is shown in the OP picture center ... the one with the screws?
                          Evidently, those screws must be poles poking through the cover, but I dont see a second bobbin which would indicate its a mini humbucker of some kind. How does that work?

                          Just curious as my first electric, bought in the 60's had similar pickups. It was a Carlton brand guitar.

                          Thanks much.
                          -JBF
                          He says it is a Kay Speed Bump pickup....so maybe search out Kay guitars and what pickups they came with?

                          Greg

                          Comment


                          • #14
                            Thanks Greg,

                            Right, posting relates to the "Speedbump". Note the bulge in the cover why its called that.

                            My question relates to the other one in the picture, the one with the screw poles. It has a mini-humbucker style cover.
                            Anyone know what that is? Is it a humbucker or some odd single-coil?

                            Thanks in advance.

                            -JBF

                            Comment


                            • #15
                              Originally posted by jbforrer View Post
                              Thanks Greg,

                              Right, posting relates to the "Speedbump". Note the bulge in the cover why its called that.

                              My question relates to the other one in the picture, the one with the screw poles. It has a mini-humbucker style cover.
                              Anyone know what that is? Is it a humbucker or some odd single-coil?

                              Thanks in advance.

                              -JBF
                              I think the one with the screws was His attempt to duplicate the Speed Bump with Humbucker Parts.
                              It appears he built a single coil similar to the speedbump in the middle, and the screws probably not effective, and just fill up the holes.
                              If the Magnet is sitting on a steel plate and the screws are threaded into that steel plate, It would probably be the Polarity of the bottom of the magnet.
                              That would be something you could build and experiment with standard parts.
                              Good Luck,
                              Terry
                              "If Hitler invaded Hell, I would make at least a favourable reference of the Devil in the House of Commons." Winston Churchill
                              Terry

                              Comment

                              Working...
                              X