Announcement

Collapse
No announcement yet.

DIY control labeling?

Collapse
X
 
  • Filter
  • Time
  • Show
Clear All
new posts

  • DIY control labeling?

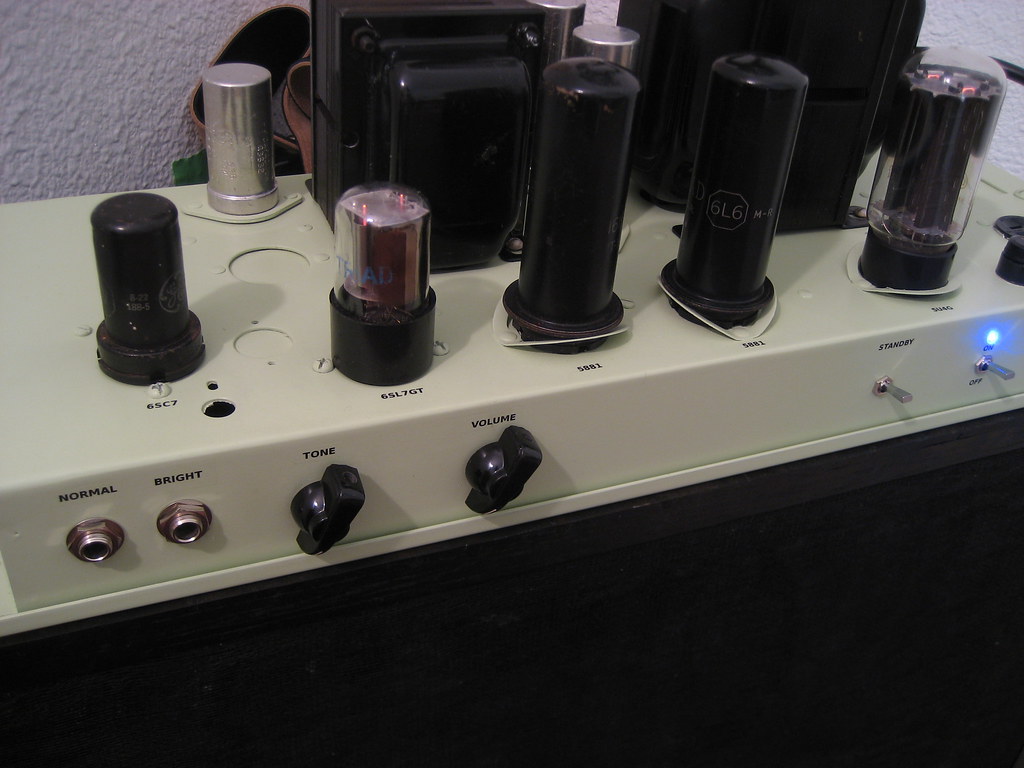
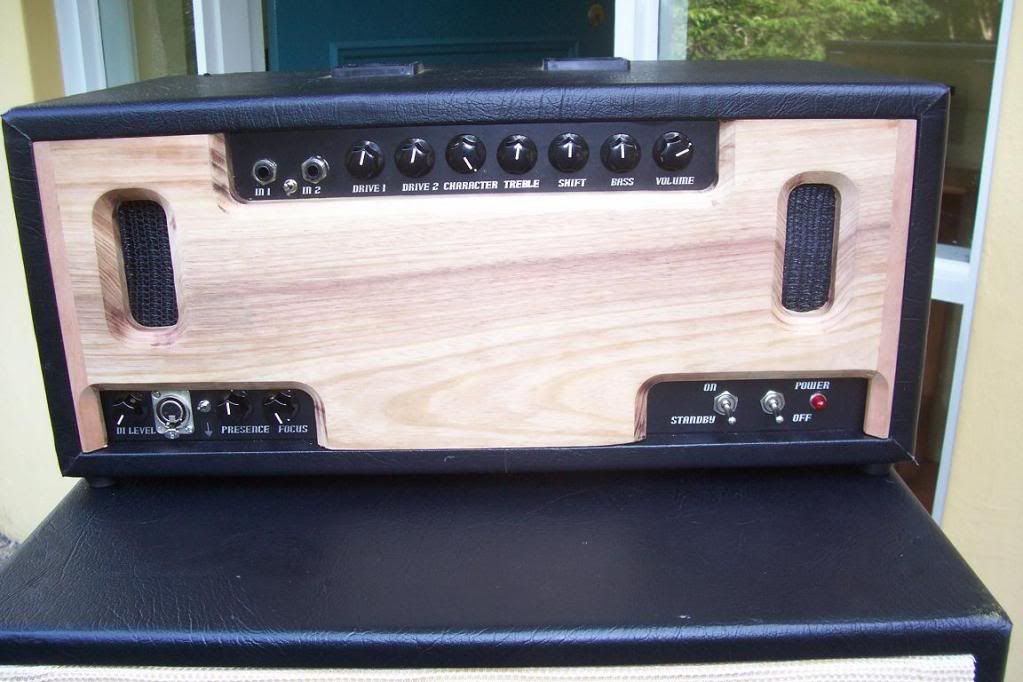
    One of the hardest things for me in a DIY build is trying to label the controls so that the build doesn't look homemade. I'm great with a soldering iron, but when it comes to graphics, I run in fear. I used to get "Needs Improvement" on my handwriting legibility back in elementary school.

    On my current project, I need to label four knobs: Volume, Treble, Bass, and Reverb. I've even thought of ordering a Mojotone guitar amp faceplate and cutting out that section, though that seems a bit expensive.

    Any great ideas for how to do this for the graphically challenged?

  • #2
    Any office supply store like Staples will have label makers. These are typically little hand held gadgets that print out lettering on a tape. You can then transfer the lettering from the tape to your panel. I don;t know a lot about them, my wife used one for certain projects for a while. I know Brother is a large brand, makes many models, but I am sure there are other brands.

    ANother idea is to print out a panel using your computer. Glue the printed sheet to your panel, then mount a sheet of clear plexi over it for protection.
    Education is what you're left with after you have forgotten what you have learned.

    Comment


    • #3
      Another idea is lazertran,

      Transfer papers for artists - Lazertran

      which you can get from most decent art supply shops. You design the graphics on your computer and print it out on your laser printer or inkjet (there are different types of lazertran for each) and then depending you put the decals on your chassis and clearkote spray/lacquer over the top of them, or use the stuff where you apply it to the metal and bake it in an oven for a wee while.
      Building a better world (one tube amp at a time)

      "I have never had to invoke a formula to fight oscillation in a guitar amp."- Enzo

      Comment


      • #4
        Oh yes, forgot all about making decals, and I am into model railroading where we do that all the time.
        Education is what you're left with after you have forgotten what you have learned.

        Comment


        • #5
          Yeah, printable decals are pretty easy to work with and turn out well enough. I used the laser printable variety for the below project. Just make sure to reverse your image before printing .

          Check out my signal generator for your iPhone or iPod Touch.

          Comment


          • #6
            It's probably overkill, but I know a guy who runs a CO2 laser cutter/engraver. I designed my artwork in a CAD package and got him to engrave it backwards on clear plexiglass, which I then mounted in front of a matt black faceplate and edge-lit with LEDs. It looks wicked if I do say so myself.
            Attached Files
            "Enzo, I see that you replied parasitic oscillations. Is that a hypothesis? Or is that your amazing metal band I should check out?"

            Comment


            • #7
              Verry coool Steve
              Building a better world (one tube amp at a time)

              "I have never had to invoke a formula to fight oscillation in a guitar amp."- Enzo

              Comment


              • #8
                I use a Printshop program (about $12 back way when) ande print stuff on a sticky label. Then coat it with about 7 coats of spray laquer. It creates a very tough surface, and it's shiney too!

                Comment


                • #9
                  I used a local laser etching shop - make plaques for awards, trophies, etc..

                  They required artwork in Corel, Illustrator, even pdf i think. The material is black anodized aluminum with adhesive backing, the laser removes the black anodize revealing the raw aluminum beneath. It should be sprayed with satin clear afterwords - I didn't. I think it cost $13. I drilled the holes.
                  Attached Files
                  Last edited by RudeBoy; 10-31-2009, 02:43 PM. Reason: image as attachment

                  Comment


                  • #10
                    hey Rudeboy, I know it's not related (but I do like your faceplate), but I recognize those old hammond xformers (from an AO-35?) They are on a build on my bench as we speak. Building a 15w pp el84 amp (as I suspect yours is) and I wonder if the OT is up to the task. How's it sound?
                    In the future I invented time travel.

                    Comment


                    • #11
                      Originally posted by cminor9 View Post
                      hey Rudeboy, I know it's not related (but I do like your faceplate), but I recognize those old hammond xformers (from an AO-35?) They are on a build on my bench as we speak. Building a 15w pp el84 amp (as I suspect yours is) and I wonder if the OT is up to the task. How's it sound?
                      It is an AO-35 conversion I did for my nephew. It runs 6V6s w/SS rectifier. No feedback, so lots of gain. It is quite chimey and breaks up early. I'd like to hear it with a Celestion Blue sometime.
                      Attached Files
                      Last edited by RudeBoy; 10-31-2009, 02:41 PM. Reason: image as attachment

                      Comment


                      • #12
                        Originally posted by RudeBoy View Post
                        I used a local laser etching shop - make plaques for awards, trophies, etc..

                        They required artwork in Corel, Illustrator, even pdf i think. The material is black anodized aluminum with adhesive backing, the laser removes the black anodize revealing the raw aluminum beneath. It should be sprayed with satin clear afterwords - I didn't. I think it cost $13. I drilled the holes.
                        quite pretty build! Doesn't the silver spray paint on the PT/OT conduct a little? Maybe the key to the T0NE!

                        Steve, typical half assed effort! What happened to the nanotech arranged hummingbird interference crystal / chemiluminescent holographic labels? I won't even bother uploading my sharpie graphics....

                        Comment


                        • #13
                          Originally posted by tubeswell View Post
                          Another idea is lazertran,

                          Transfer papers for artists - Lazertran

                          which you can get from most decent art supply shops. You design the graphics on your computer and print it out on your laser printer or inkjet (there are different types of lazertran for each) and then depending you put the decals on your chassis and clearkote spray/lacquer over the top of them, or use the stuff where you apply it to the metal and bake it in an oven for a wee while.
                          Which product do you bake and how does this work with the super hot fuser in the laser printer?
                          This would be very handy for a few quick builds I could do with blank chassis and not having to deal with my silkscreener and their $120 "set up" fees and min 50 piece runs!
                          Bruce

                          Mission Amps
                          Denver, CO. 80022
                          www.missionamps.com
                          303-955-2412

                          Comment


                          • #14
                            On a recent build I tried a few different methods, and wound up with the following method:

                            1) paint the chassis whatever color you want the lettering to be.
                            2) got some 1/4" stick on letters and painstakingly stuck those to the chassis.
                            3) painted the chassis the final color and applied several coats of lacquer.

                            It turned out really nice! I wasn't sure that the stick-on letters would mask cleanly, but they ended up doing a nice job.

                            While not as nice as silkscreening or laser etching, it's a relatively simple, cheap, and no-special-tools-required way of lettering your chassis.
                            In the future I invented time travel.

                            Comment


                            • #15
                              i got some clear vinyl stickers printed at the printing shop and then just applied it to the amp. i was in a hurry to bring it to a get together so i didnt put a clear coat over it. i should at some stage. its cheap and looks pretty professional. only issue is the toner can scratch off pretty easily when putting on the pots and jacks.

                              here's a pic of the front panels on a nearly finished amp.


                              Comment

                              Working...
                              X