 Tweet
Tweet
I'm looking at replicating a combo that has a split front. Bottom has speaker cloth and top has tolex with piping around both sections so it's double piping across the joint of the two panels. I'm unable to see in any photos I've got if this is two separate panels or one sheet of timber. It's a Bad Cat combo. I've not used piping before so I'm keen to hear or see any advice. My initial idea is it would be easier, for me to have two panels, apply the tolex and grill cloth then staple the piping around the edge of both pieces and screw from behind the two panels against some vertical bracing on each side. Any advice about tone/construction will be much appreciated. Thanks in advance Joe.
-
-
Hi Joe
look on the fourth page of these drawings for one idea
FREE CABINET PLANS - MODULUS AMPLIFICATION
That’s the way Marshall do it but the Badcat style has an added difficulty, the control panel cut out.
The way I did it was in two parts, the main board with the strips around the speaker area to raise the grill cloth to the correct height,
The valence board is then partly covered, but the section around the control panel cut-out is not done, you then have to glue the valence board in place and once that’s dry finish off the tolexing around the control cut out.
Heres what mine looked like afterwards, I just used Upholstery Leatherette here
http://i171.photobucket.com/albums/u...0013Medium.jpg
http://i171.photobucket.com/albums/u...0002Medium.jpg
You could do it the other way around, and have the valence board glued permanently to the back board, tolex that and then fit the grill cloth on a separate frame. -
Thanks for the information Mike. I was trying to understand what you were describing but once I looked at your plans for the 18watt combo it made sense. Think I'll attempt that design. Could you elaborate about how you fixed the piping to the front panel? I've seen a few amps with piping or similar thats fed into a groove thats been routed on the top panel etc and then just stapled at each end to hold it in place. Since the the front panel is the only place I was going to use it (I'm trying to build the same combo design as your pictures show) I'm guessing it could be just stapled around the edge of the panels? Again much appreciated as I'm just working things out as I go.Comment
-
What a great looking cabinet!Comment
-
Hi Joe, I just staple mine in place, along the full length, the groove is just to provide clearance if its needed, depends on what piping your using.
Staple it at the ends and then put the two parts together to make sure your happy with where it is going to sit.
good luck, you kind of learn as you go with these things.
CheersComment
-
Great looking work.Originally posted by guitarmike2107 View Post
That cabinet really has a cool color combo.DIY Links
Tolex Tutorial
http://www.guitarkitbuilder.com/cont...lifier-cabinet
Chassis:
http://www.guitarkitbuilder.com/cont...lifier-chassis
Turret board:
http://www.guitarkitbuilder.com/cont...d-construction
Comment
-
Thanks Casey
That grill cloth has actually got a gold thread through it, but it didn�t come out as strong as I had hoped. If I was to build it like that again I would probably just use black as I would make it look stronger� I normally model the cabs in 3d to try different colours first, things like that help.
Comment
-
I've looked at Bad Cat amps a zillion times, and never noticed that double piping
I don't think it looks that good - kind of kludgy...
On the few Marshall combos I've had apart, the speaker was rear-mounted, and the baffle was mounted from the inside also, and screwed (from behind) into the wider frame around the front edges.
The piping was stapled to the cab, so the baffle is brought forward to meet the piping.
On panels that are inserted from the front, however, such as removeable speaker baffles and front panels, the piping is usually stapled to the panel.
I guess this is done this way so the panel doesn't squish the piping if inserted from the 'wrong' side.
I wonder if, on the Bad Cat in question, the speaker baffle is inserted from behind, and the front panel from the front, and that's why they felt the need for the double piping.Comment
-
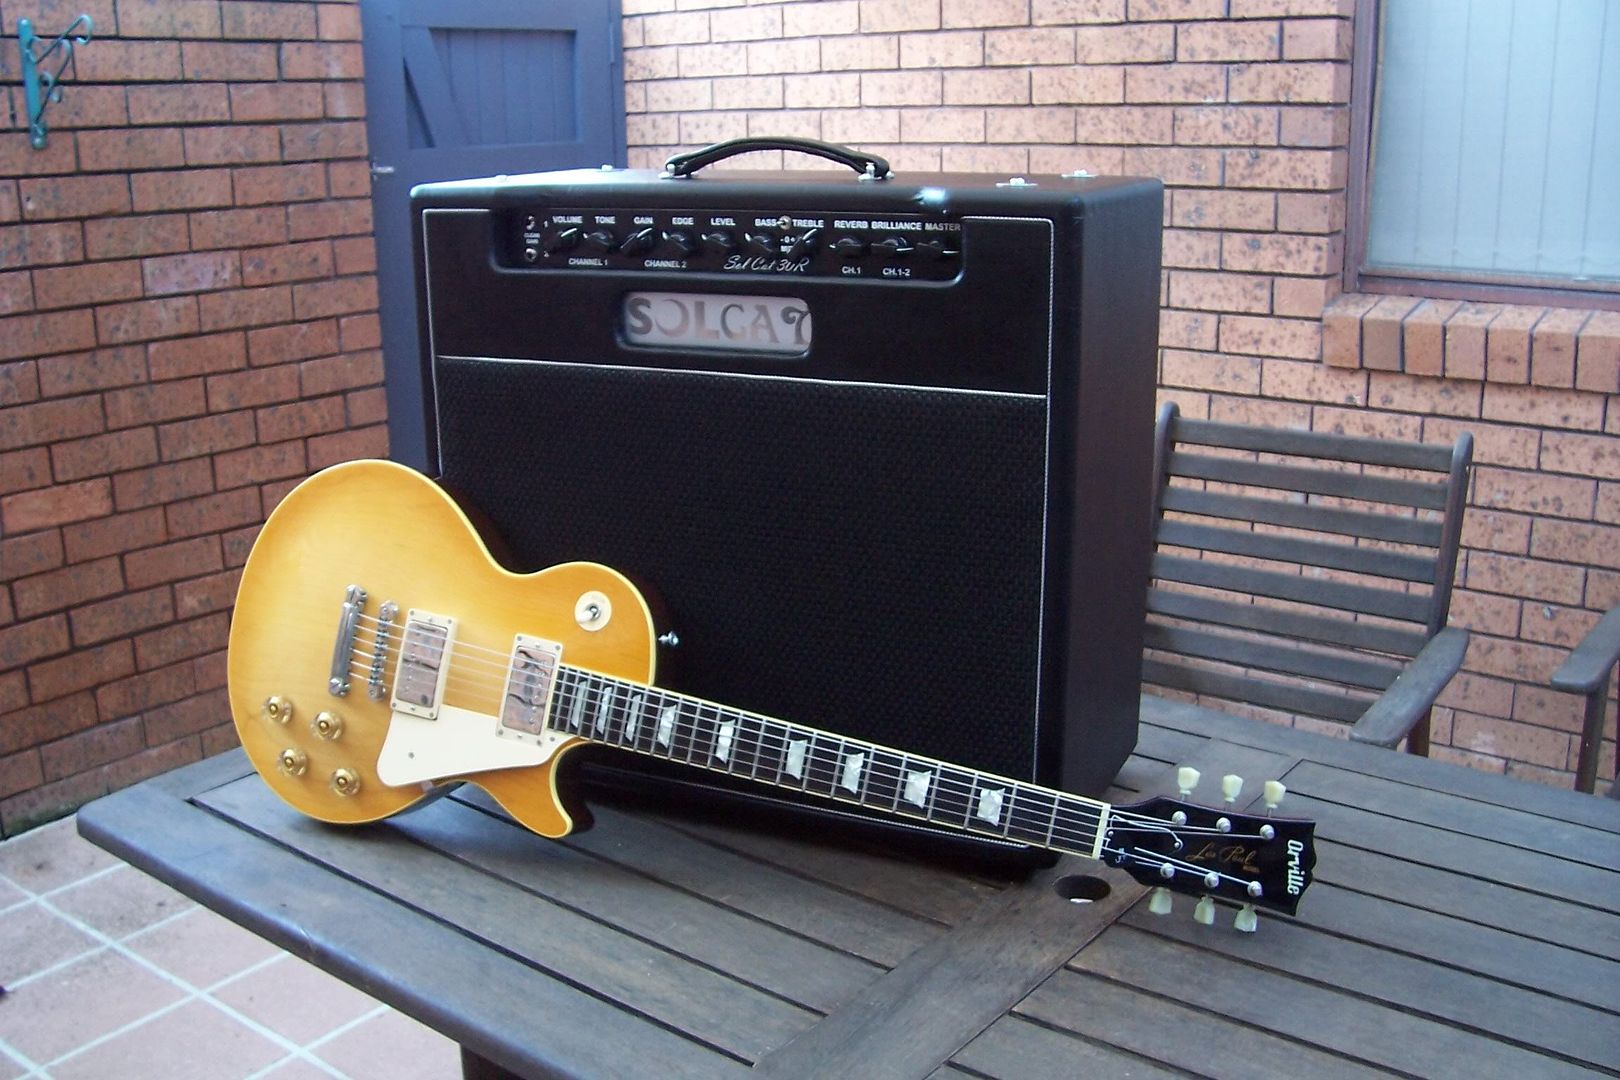
I've almost got this amp finished, some black 6mm bolts and washers would be better on top, and I still need to have the backlighting done.
Comment
-
Joe that is looking ace!!
You have captured the "badcat" look very well, I like the play on the name too.Comment
-
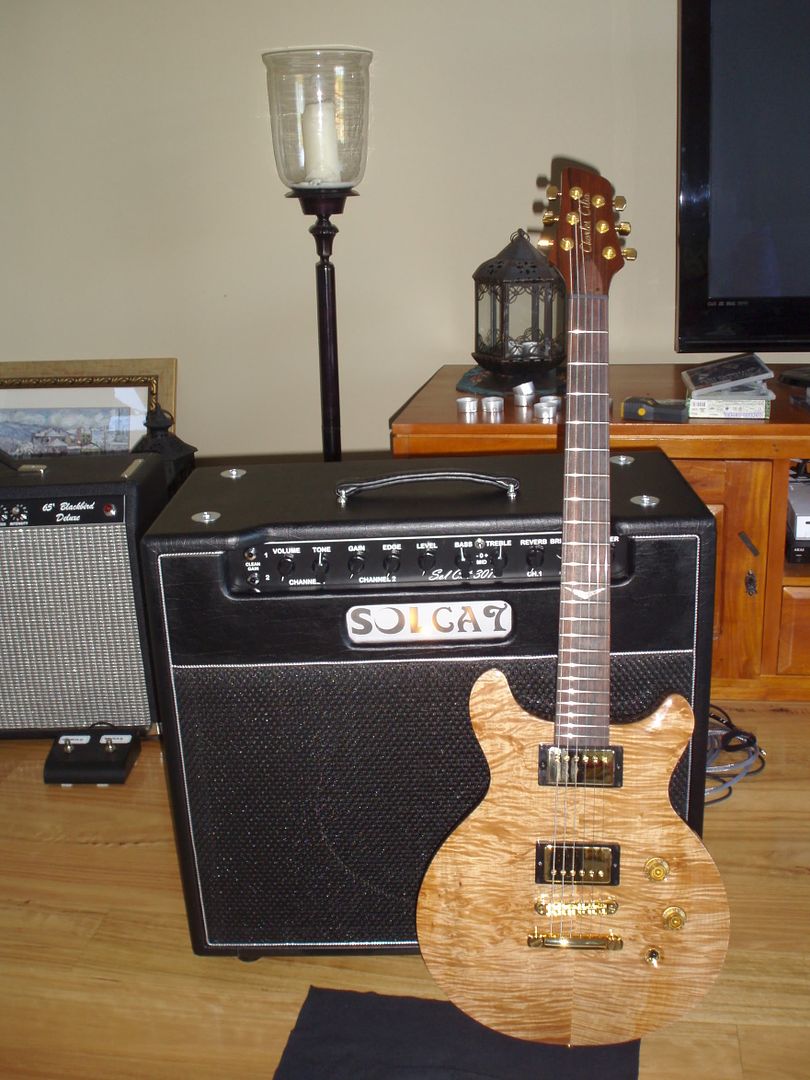
Thanks Mike! I have to tell you those plans you have on your site helped a great deal. I like working things out but if somebody has a shortcut to a good idea I'll take it. It was my first tolex and combo job so besides a few moments of near disaster and a lot of problems hidden by luck I was happy how it turned out. I was working off pictures and some dimensions of the exterior from websites. The amp was built for a friend and he got a new guitar last week as well, I would have kept mucking around with the amp for another month or two but he brought his new guitar along to my place and took the amp with him. Nice looking guitar built by an Australian luthier Charles Cillia. Pete the new amp-guitar owner has a job at Charles workshop.
Comment
Comment