 Tweet
Tweet
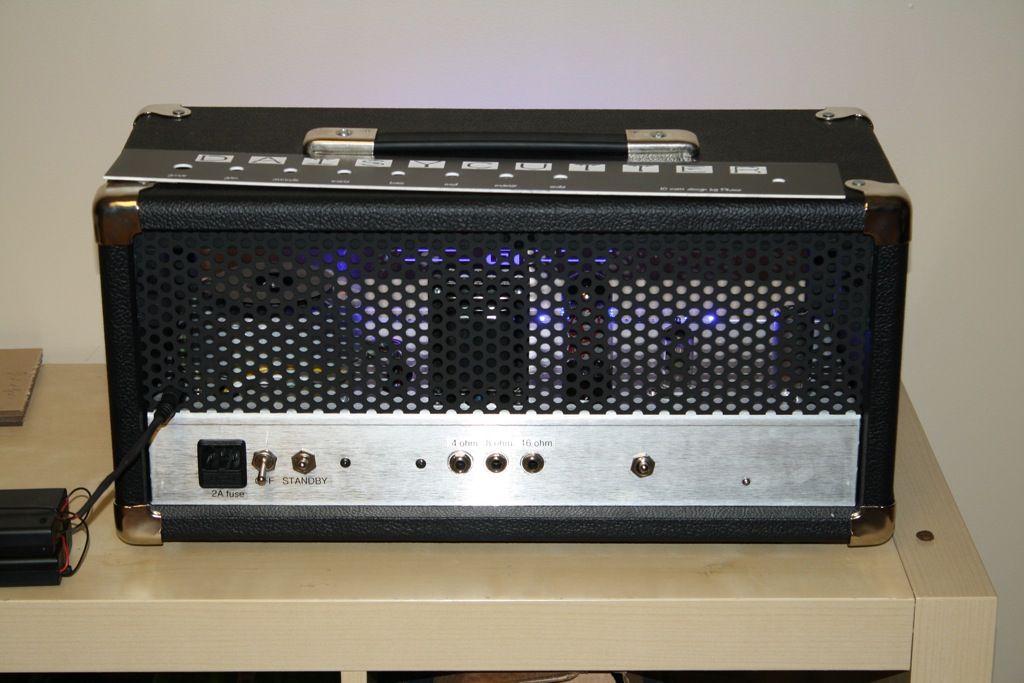
Nice looking amp Zephyr, but I would cover the open part of the chassis with a piece of sheet metal. There are dangerous voltages that are exposed. You never know when something unexpected may happen.
-
Now Trending: China has found a way to turn stupidity into money! -
I think that one of the greatest visual designs I've ever seen had to be Baxtercat's "Jetsons TV" amp. Here it is:

A perfect mate for this amp would be a Pagelli guitar.

"Stand back, I'm holding a calculator." - chinrest
"I happen to have an original 1955 Stratocaster! The neck and body have been replaced with top quality Warmoth parts, I upgraded the hardware and put in custom, hand wound pickups. It's fabulous. There's nothing like that vintage tone or owning an original." - Chuck HComment
-
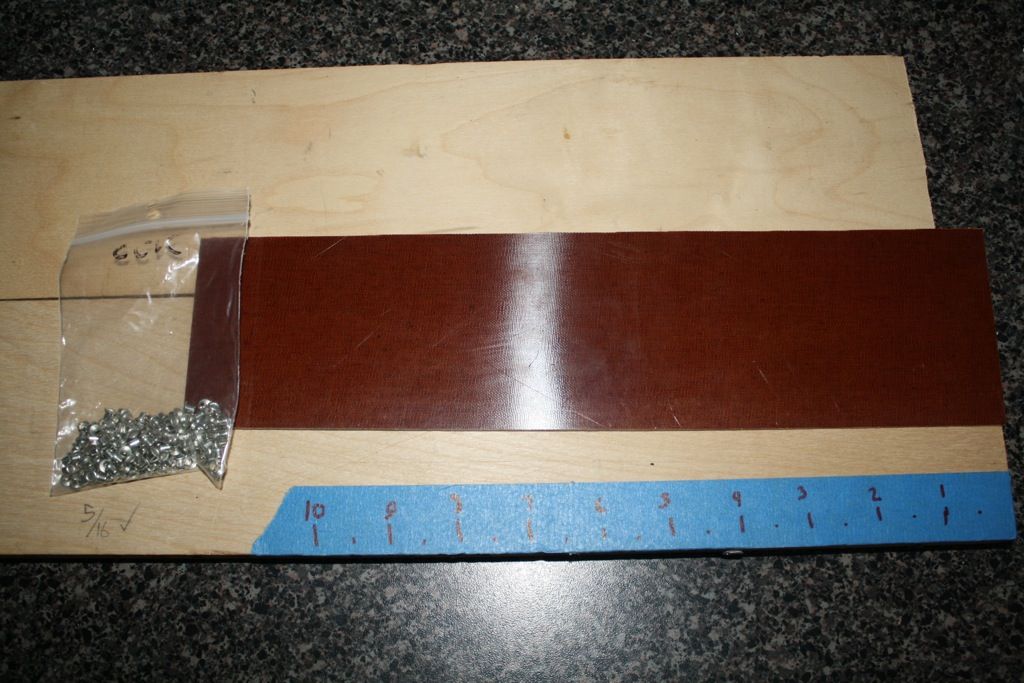
Here are a few photos of an amp that I built:

Comment
-
Gingertube - please post more photos of your LP Standard.Comment
-
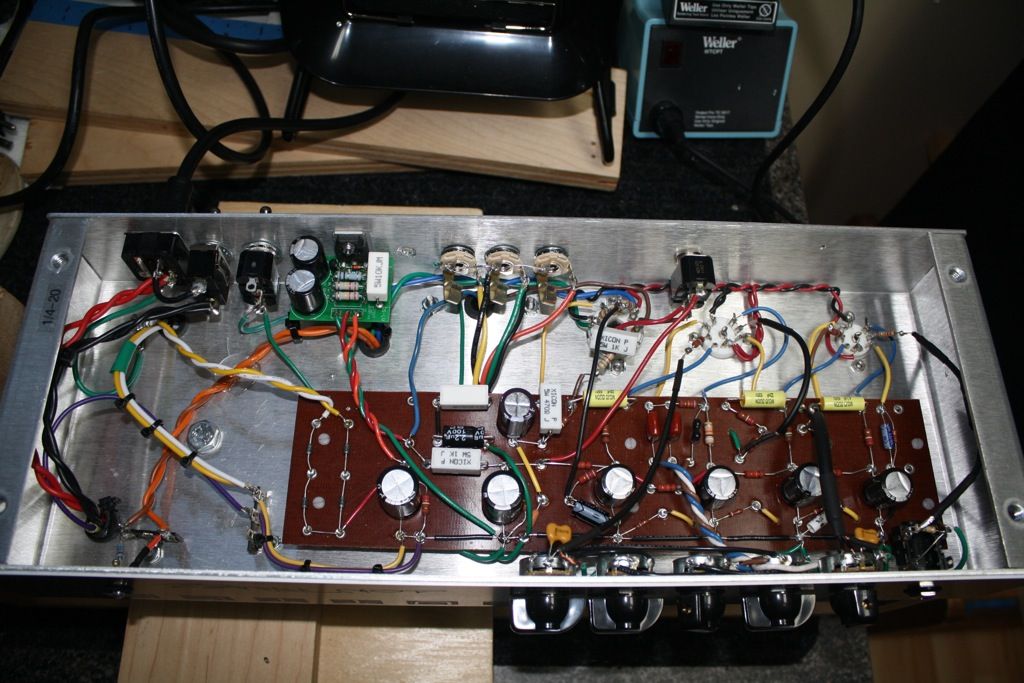
Under Construction Shots.
Here you go - the during construction shots.
Cheers,
IanAttached FilesComment
-
-
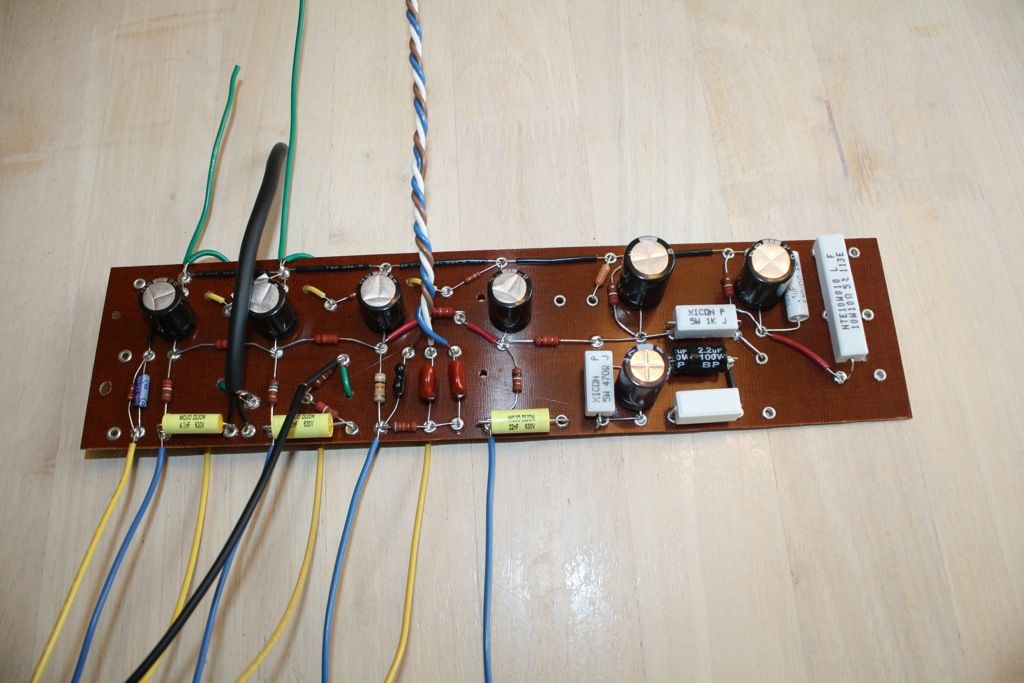
the eyelet construction looks simiilar between Ian's build (gingertube) and stormbringer. it looks like both are using eyelets to mount caps standing upright that either have radial or snap-in type leads. i'm guessing that they're radial, because it looks like there are wires coming out from under the caps to go to the eyelets.
are you guys using radial mounts or snap-in mounts? i've been embracing the use of snap-ins because they're commonly available and are more likely to be available in the future than axial caps."Stand back, I'm holding a calculator." - chinrest
"I happen to have an original 1955 Stratocaster! The neck and body have been replaced with top quality Warmoth parts, I upgraded the hardware and put in custom, hand wound pickups. It's fabulous. There's nothing like that vintage tone or owning an original." - Chuck HComment
-
Even the epoxy boards are the same!Originally posted by bob p View Post
I used radial caps.
Cheers, JohnComment
-
All caps on my build are Panasonic ED 22uF/450V radial leads. For main power amp feed, 3 off in parallel (for 66uF), all other power supply nodes (screen supply, phase splitter, preamp nodes) just 1 off, The amp is about 25 to 30 Watts maximum from a quad of 6V6G into a 50W Marshall Output Tranny (Raa 3K4) but has full power scaling and cathode /fixed bias switches and triode /pentode switches for each pair of output tubes.
I don't quite know how snap ins would work with eyelet boards but I'll have to give it a go soon on some Tube HiFi Amps I'm doing - I used to work for a company doing defence projects, every component needed full tracability and at the end of the project all extra components had to be disposed off, as they were not allowed to be re-allocated to another project, thus I have a bag of 23 highest grade EPCOS 470uF/450V snap in electros, minimum order was 25 and the project needed 2. They will be going into 2 amps, a parallel push pull 300B pair of monoblocks (Plitron PAT4006 Output trannies) and parallel push pull KT88 Ultralinear + cathode feedback pair of monoblocks (Plitron VDV2100 CFB/H Output Trannies).
These are projects I've been trying to get to for nearly 2 years. Each time I clear the decks someone else turns up with a Guitar Amp or HiFi Amp they want repaired / restored, current one is an 1964 Ampeg Echo Twin, just finished a copper front panel VOX AC30 and a pair of Aranov LS9100 HiFi Monoblocks. Its hard to say no to these people and my local tube supplier keeps referring people to me. Might have to have a word to him.
Cheers,
IanComment
-
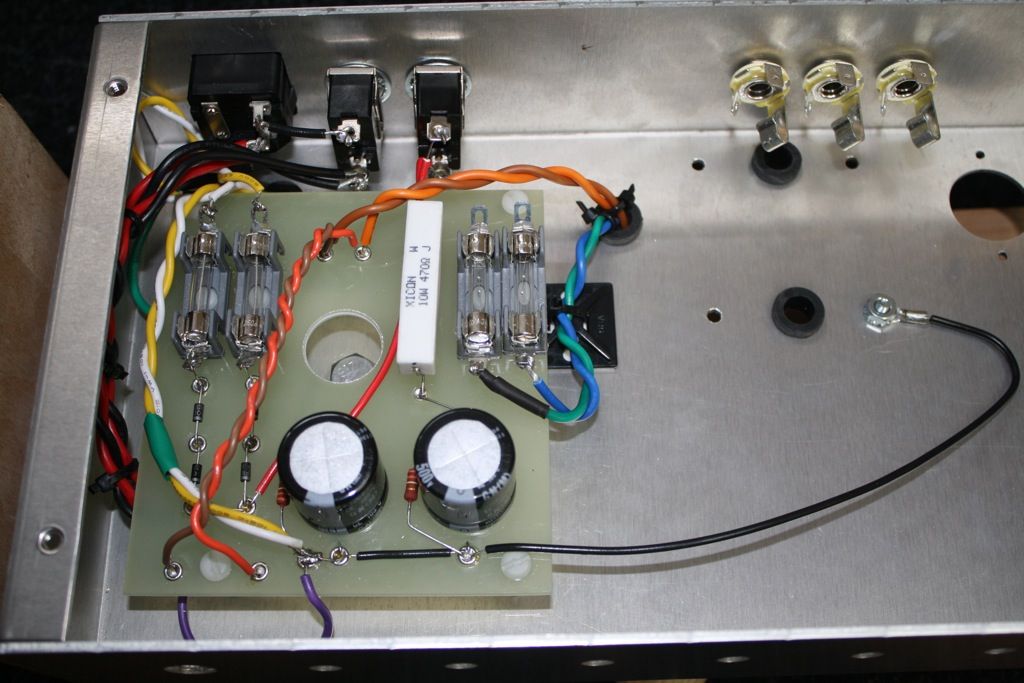
Originally posted by bob p View PostI used two 500V snap-in caps on a new PS board. The key was to install eyelets on the opposite (bottom) surface so that the cap sat flat on the epoxy board. The cap leads insert into those 'reverse' eyelets and then I used short wires on the bottom surface to connect the reverse eyelets to other eyelets for making connections. Works great!Originally posted by Gingertube View Post
Comment
-
I'd like to see a picture of the other side of that board!"Stand back, I'm holding a calculator." - chinrest
"I happen to have an original 1955 Stratocaster! The neck and body have been replaced with top quality Warmoth parts, I upgraded the hardware and put in custom, hand wound pickups. It's fabulous. There's nothing like that vintage tone or owning an original." - Chuck HComment
-
I am kicking myself for not taking photos before I mounted the board! I'll probably remove it just to take a photo. However it is just a super-simple setup:Originally posted by bob p View Post
- I drilled holes 10 mm apart for the cap terminals and installed eyelets on the bottom surface (that is, hit them with the staking tool on the top surface of the epoxy board - pretty much a flat surface on the top).
- then I installed eyelets just outside of the cap and connected each 'terminal eyelet' to the nearest outer eyelet with a jumper wire. I used solid 18 ga hookup wire with a short piece of PVC insulation.
- that's it...
BTW - this PS board is mounted where a toroidal PT is located. I used a step drill bit to make a hole in the board so that I can easily access the PT mounting bolt. I am happy with the result.Last edited by stormbringer; 08-05-2013, 12:10 AM.Comment
-

Current work in progress. 2xKT88 poweramp, Cathodyne PI. This was going to be used as a prototyping rig but its just going to be a poweramp now and the preamp will be built into a 2U rack instead. Need to add an input stage/MV which will just be a paralleled 12ax7 most likely .Comment
-
Amp Build Photos and Soundclips
Here are a few that I have recently built. Many will have seen these before, but I figured it would be good to add it again now linked to Flickr since the server lost all the old uploaded images. I am currently working on building a cab for the 5F1 and 6G15 reverb unit using a half-blind dovetail jig. I will be sure to post photos of my cabinet progress in the cabinet section.
5E3 Deluxe
Hoffman Style Board
http://www.flickr.com/photos/43492441@N05/8768411860/
Gutshot
http://www.flickr.com/photos/43492441@N05/8765543239/
Completed Cab Front
http://www.flickr.com/photos/43492441@N05/8769417388/
Completed Cab Back
http://www.flickr.com/photos/43492441@N05/8769074180/
Sound Clips:
Here are two short clips of my buddy playing a MIA strat playing through 2 amps simultaneously; the 6G15 Reverb Unit into the 5E3 Deluxe for the "wet" signal and a Dave Hunter 2-Stroke amp for the "clean" tone.
https://app.box.com/s/vhajvuuuxptibqq23u67
6G15 Reverb
Gutshot
http://www.flickr.com/photos/43492441@N05/8769017184/
Front View
http://www.flickr.com/photos/43492441@N05/8769033964/
5F1 Champ
Chassis
http://www.flickr.com/photos/43492441@N05/8768888106/
Gutshot
http://www.flickr.com/photos/43492441@N05/8766045993/
Amp in temporary ghetto cabinet - Front
http://www.flickr.com/photos/43492441@N05/8768958452/
Amp in temporary ghetto cabinet - Back
http://www.flickr.com/photos/43492441@N05/8768953238/Comment
-
Here's a Marshall JCM800-2203 clone I just finished, I call it a Parshall JCM800-2203. It's pretty much stock except for the addition of a post phase inverter master volume and some Mercury Magnetics transformers.
Here's a video of my local luthier (Doc Pittillo) noodling around through it at his shop, he's playing pretty loud and my camera don't have the best mic but it sounded awesome in person.
https://www.youtube.com/watch?v=6YDy82qP2EALast edited by Sowhat; 08-15-2013, 07:31 AM.... That's $1.00 for the chalk mark and $49,999.00 for knowing where to put it!Comment
-
Result is:Originally posted by Wittgenstein View Post
This photo is private.
Oops! You don't have permission to view this photo
And that was after I logged in.Comment
Comment