ive nearly finished my 1x15 bass cab. its using a 16ohm 15"bass speaker from www.warehouseguitarspeakers.com . the cab is made from 18mm mdf, and has 18x18mm pieces of hardwood to support the corners. it is glued and screwed with butt joints. it is a ported design with a volume of aproximately 120L and has a tuning frequency of 43hz (give or take a hz).
ive been doing alot of work on this in the past couple of days. ive glued the whole thing together, rounded over the edges, ported the cab, found some material to use as acoustic wadding and installed it, picked up some black vinyl to cover the cab in and made a start on making the frame for the mesh on the front.
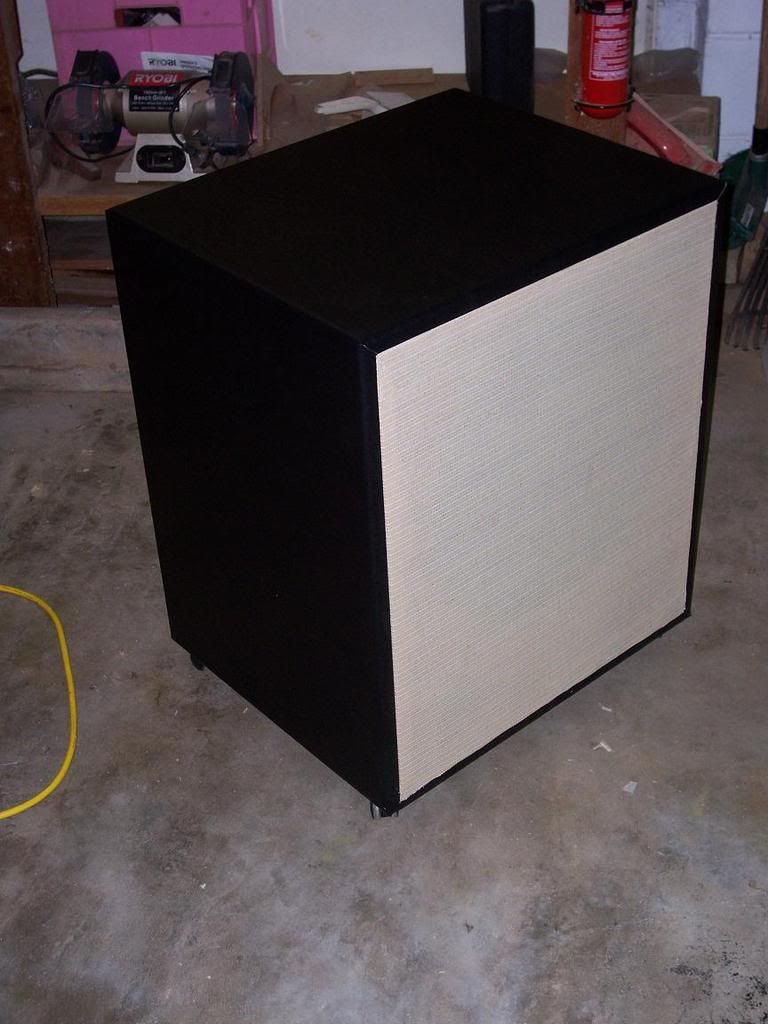
here is the cab with the mesh i will be using as the speaker grill (its shadecloth material, which i have climbed on numerous times in parks where it is strung over an area, so i know it will be quite strong) the colour of the shadecloth is a bit closer to tan than in the pic.

here is the cab after gluing down the main section of the cab. i glued the material with some pva glue that i wasnt going to use as i use titebond for my instrument builds. notice the channel along the back panel. this is where the piece of vinyl for the sides, top and bottom meet the vinyl for the rear panel. i will cut both pieces in the channel, and put some piping (tan chord actually) in the gap to hide the seam.

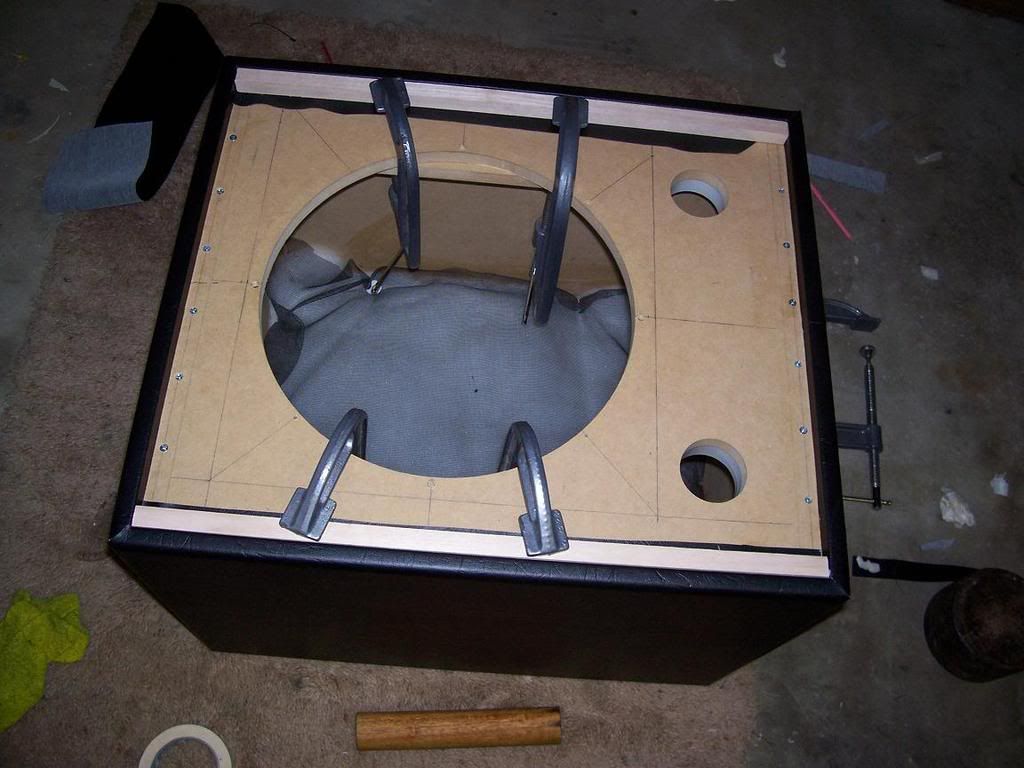
here is the front of the cab. i am gluing down the longer side edges and clamping them down with the longer sections of the mesh frame. the short sides have been glued and trimmed. you can see the ports (42-44 hz tuning, depending on the volume taken up by the speaker). you can also see the acoustic wadding, which is actually hobby fill (for making teddy bears). seemed to be the correct material, and feels about right. the acoustic wadding is held back by some flyscreen, because nothing else seemed to work too well.
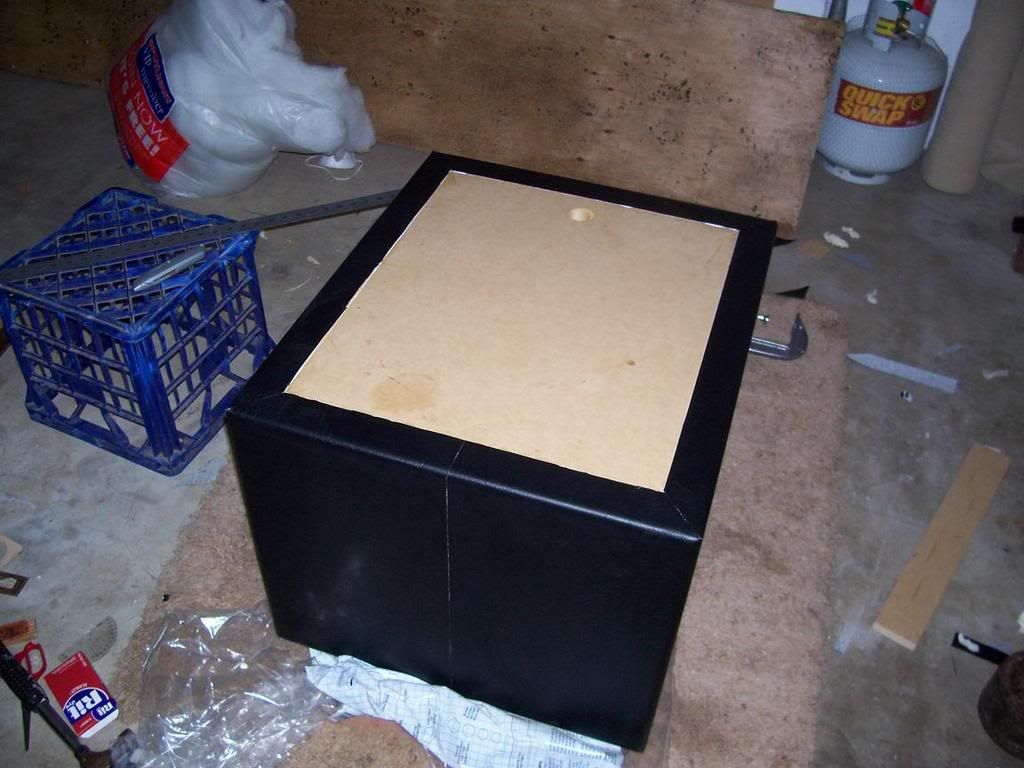
here is the rear panel of the cab after trimming back the vinyl to the channel mentioned above. you can also see the seam where the main section of vinyl joins, this is the bottom of the cab. the flash seems to excentuate the seam and corner joins. the seam is actually exact along the majority of it, with a section of 50mm where it is aprox .5mm. the hole is for the jack.
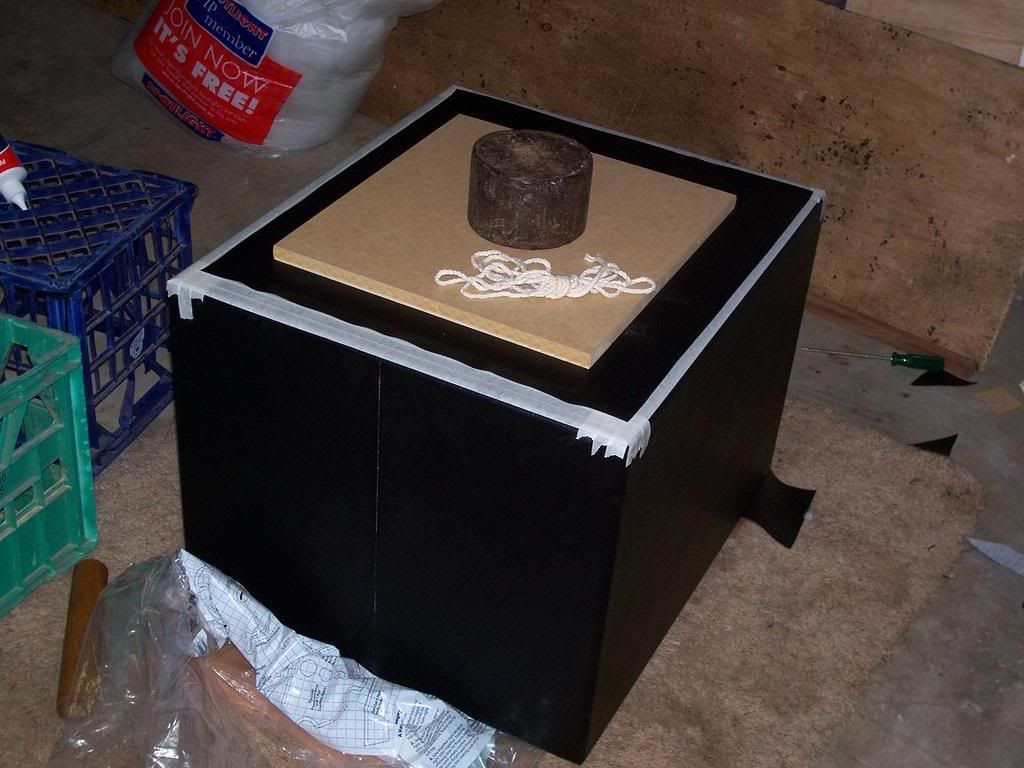
here is the rear section of vinyl being glued
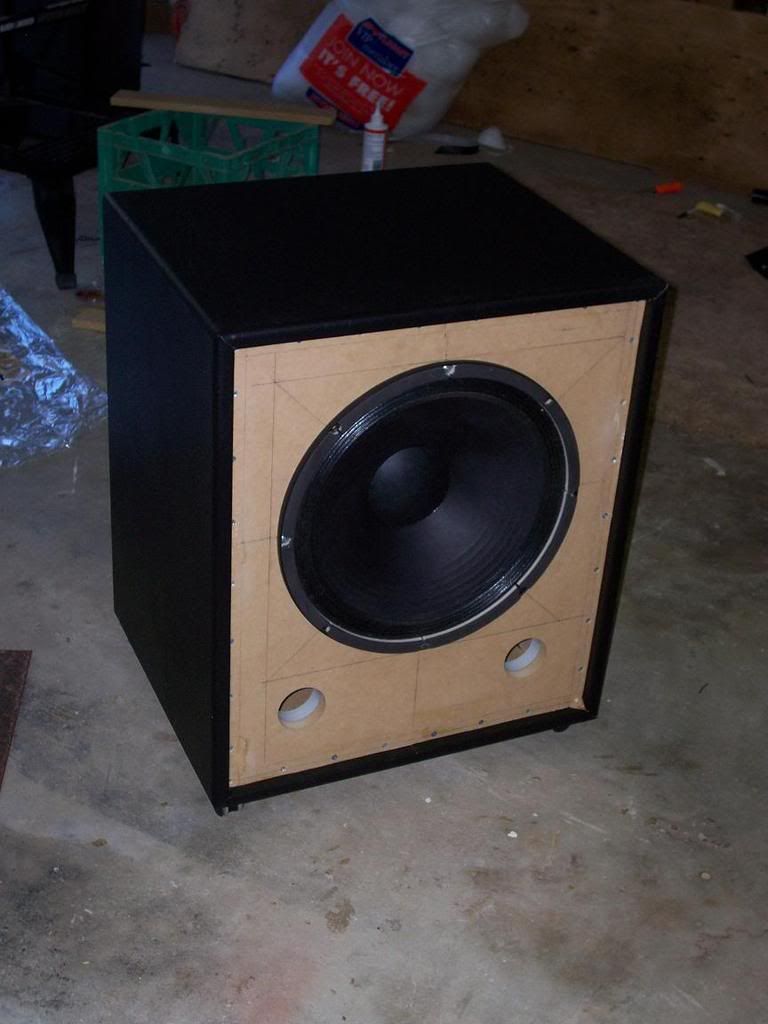
im really happy with how the cab is looking. the vinyl has been going on really easily, and i havent any bubbles. i was making this cab as a bit of a budget unit, and didnt expect it to look very good, but a cant see why it wouldnt hold its own next to any mass produced unit. i was actually considering covering the thing in duct tape of alternating colours to create a simple covering that was easy to do, but decided against it when i figured how much duct tape i would need, and the price of it. im glad i chose to go vinyl. it was 42$ australian for enough for 2 cabs of this size, with some left over for a head or 2. ill use whats left over for this cabs little brother.
when installing the ports, i use the baffle as part of the port. i cut the extra length needed by the port from 65mm pvc pipe, and epoxied it around a hole a bit smaller than the 65mm inner diameter. i then used my router with a guiding bearing to follow the pipes edge. this seemed to be an easy way to get the unit flush and of the correct length. also beat paying 40$ for the 70mm hole saw to fit the 69mm od.
shouldnt be long before i get the rear panel trimmed, chord/piping installed, mesh +frame installed and hardware reinstalled.
all i need to do is decide on what to do for handles. im thinking of getting some simple ones that stick out the side, but im a bit unsure exactly what i'll do. might leave it without for a while and see how it goes. im also unsure as to wether i will install corner protectors. ill see how it looks, and wether i can get ones of the correct radius easily.
ive been doing alot of work on this in the past couple of days. ive glued the whole thing together, rounded over the edges, ported the cab, found some material to use as acoustic wadding and installed it, picked up some black vinyl to cover the cab in and made a start on making the frame for the mesh on the front.
here is the cab with the mesh i will be using as the speaker grill (its shadecloth material, which i have climbed on numerous times in parks where it is strung over an area, so i know it will be quite strong) the colour of the shadecloth is a bit closer to tan than in the pic.

here is the cab after gluing down the main section of the cab. i glued the material with some pva glue that i wasnt going to use as i use titebond for my instrument builds. notice the channel along the back panel. this is where the piece of vinyl for the sides, top and bottom meet the vinyl for the rear panel. i will cut both pieces in the channel, and put some piping (tan chord actually) in the gap to hide the seam.

here is the front of the cab. i am gluing down the longer side edges and clamping them down with the longer sections of the mesh frame. the short sides have been glued and trimmed. you can see the ports (42-44 hz tuning, depending on the volume taken up by the speaker). you can also see the acoustic wadding, which is actually hobby fill (for making teddy bears). seemed to be the correct material, and feels about right. the acoustic wadding is held back by some flyscreen, because nothing else seemed to work too well.

here is the rear panel of the cab after trimming back the vinyl to the channel mentioned above. you can also see the seam where the main section of vinyl joins, this is the bottom of the cab. the flash seems to excentuate the seam and corner joins. the seam is actually exact along the majority of it, with a section of 50mm where it is aprox .5mm. the hole is for the jack.

here is the rear section of vinyl being glued

im really happy with how the cab is looking. the vinyl has been going on really easily, and i havent any bubbles. i was making this cab as a bit of a budget unit, and didnt expect it to look very good, but a cant see why it wouldnt hold its own next to any mass produced unit. i was actually considering covering the thing in duct tape of alternating colours to create a simple covering that was easy to do, but decided against it when i figured how much duct tape i would need, and the price of it. im glad i chose to go vinyl. it was 42$ australian for enough for 2 cabs of this size, with some left over for a head or 2. ill use whats left over for this cabs little brother.
when installing the ports, i use the baffle as part of the port. i cut the extra length needed by the port from 65mm pvc pipe, and epoxied it around a hole a bit smaller than the 65mm inner diameter. i then used my router with a guiding bearing to follow the pipes edge. this seemed to be an easy way to get the unit flush and of the correct length. also beat paying 40$ for the 70mm hole saw to fit the 69mm od.
shouldnt be long before i get the rear panel trimmed, chord/piping installed, mesh +frame installed and hardware reinstalled.
all i need to do is decide on what to do for handles. im thinking of getting some simple ones that stick out the side, but im a bit unsure exactly what i'll do. might leave it without for a while and see how it goes. im also unsure as to wether i will install corner protectors. ill see how it looks, and wether i can get ones of the correct radius easily.


Comment