Announcement

Collapse
No announcement yet.

Blade Style Pickup - Ceramic Magnet Orientation

Collapse
X
 
  • Filter
  • Time
  • Show
Clear All
new posts

  • #76
    You can't write off misleading information as marketing fluff talk. It can do deal real damage to consumers, even if that wasn't the intention.

    https://www.ftc.gov/news-events/medi...th-advertising

    When consumers see or hear an advertisement, whether it’s on the Internet, radio or television, or anywhere else, federal law says that ad must be truthful, not misleading, and, when appropriate, backed by scientific evidence.
    In a case such as this, you might say that Peavey isn't trying to willfully defraud customers through misleading and unscientific claims, but again, it's better to know nothing than to believe something that is incorrect.

    Comment


    • #77
      Hello,
      I apologize for being part of hijacking of the OP's thread. I am leaving now in hopes others will extend the same courtesy.

      Comment


      • #78
        My package came in the mail today...


        As you can see, my bobbins fit perfectly into the MM cover. I'll put them in there once I wind 'em. I have a small sheet of nickel silver coming in this week as well. I'm going to make a li'l face plate the resembles the old Peavey cover and glue it on there. Perhaps I'll ground it and it will serve as a shield.

        I also got my T-Bird covers, Mojo bobbins and magnets. The T-Bird cover, of course, looks bomb. For a second, I tried 3 bobbins in there just for the heck of it, but it was too tight. I suppose if I wanted to make a third, switchable coil, I could sand them down a teeny bit, but I'm not going to worry about that now. They're a little taller than the cover, but I think I can make a little brass baseplate that curves up and cradles them in there.

        The Mojo magnets are way stronger than the ones I got from Addiction FX - at least they feel as if they have more attraction to one another. I'm assuming that's because they're about twice the size or if they're made of a different grade of ceramic; they're supposedly both ceramic 8.

        I'll prolly start winding these within the next couple of days. It will be fun having two flavors to experiment with. Seeing how I don't yet have a mule, I'm in a gigantic hurry. I saw a Squier on CL yesterday for $75, so maybe I'll take a look at it.

        Comment


        • #79
          I wound my first set of coils today...

          It didn't go too badly! I think I still need a lot more practice, but I think that my second coil came out a lot better than the first. I imagine they'll get better as I go. I think I had a complete bobbin on my 3rd or 4th try.

          First, I sanded the corners of the magnets and filled the seam between the magnets and the Forbon with a little fillet of CA glue. I wrapped the magnets a couple of times with Kapton tape.

          Lollar's little auto guide kinda works! It's not exactly "set and forget", but then again, he never sold it as such. I found that I'd do a few hundred winds and have to fine tune as I went; the return of the circular cam seems to want to linger on the sides a bit, so the coil tend to build up a bit on the sides. He provides a cam design in the book with a faster return, but it would have been more difficult for me to fabricate than just a circle. Besides, more advanced cam is designed for one sized bobbin, whereas the circle can be used with any bobbin up to 1/2" tall. I imagine a really good hand winder would scoff and say, "Hey it's way easier to just do it by hand and do it on the fly." That's probably very true, however I did attempt a hand wind, and I just kept breaking the wire.

          I wound both coils tho 3750 winds of #42. One measured 2.9K while the other was almost 3.0K. Maybe my counter is not super accurate. Hopefully, that's within a decent margin of error. I used the snap switch and a cheap Chinese counter - I got it to work by having the switch open position be 1 and the closed position 0.

          Next, I gotta find some 4-conductor wire. Most of the actual guitar wire seems really expensive and geared toward making vintage reproductions. I'm going to head out to Fry's and check out some data cable. I've heard that it's really well-shielded, but it has a tendency to melt. I guess 2-conductor might work, since I think I'm going to pot each coil individually before I pop them into the cover and pour bunch of wax in it. Maybe the have that stuff that just looks like four wires stuck together in a row.

          I got a lead on a mule. One of my cycling buddies is a ukulele broker. I told him I needed a cheap P-bass in the $50 or less price range. He texted me two days later with a bass. I guess it's good to have friends in high places. I'll check it out over the weekend.
          Attached Files

          Comment


          • #80
            USB cable can work as 4-wire hookup. It even has braided drain and foil shielding.

            Comment


            • #81
              Originally posted by Jason Rodgers View Post
              USB cable can work as 4-wire hookup. It even has braided drain and foil shielding.
              Cool. That's good to know. I'll take a look around for some this weekend.

              Thx!

              Comment


              • #82
                Mule acquisition alert! My buddy dropped by yesterday morning with this Squier P. $50. It's been sitting in his friend's closet for years. It's a little beat, but for my needs, it will be more than adequate. I'm going to gut it and route a swimming pool within the next few days.

                Comment


                • #83
                  Originally posted by Freekmagnet View Post
                  route a swimming pool
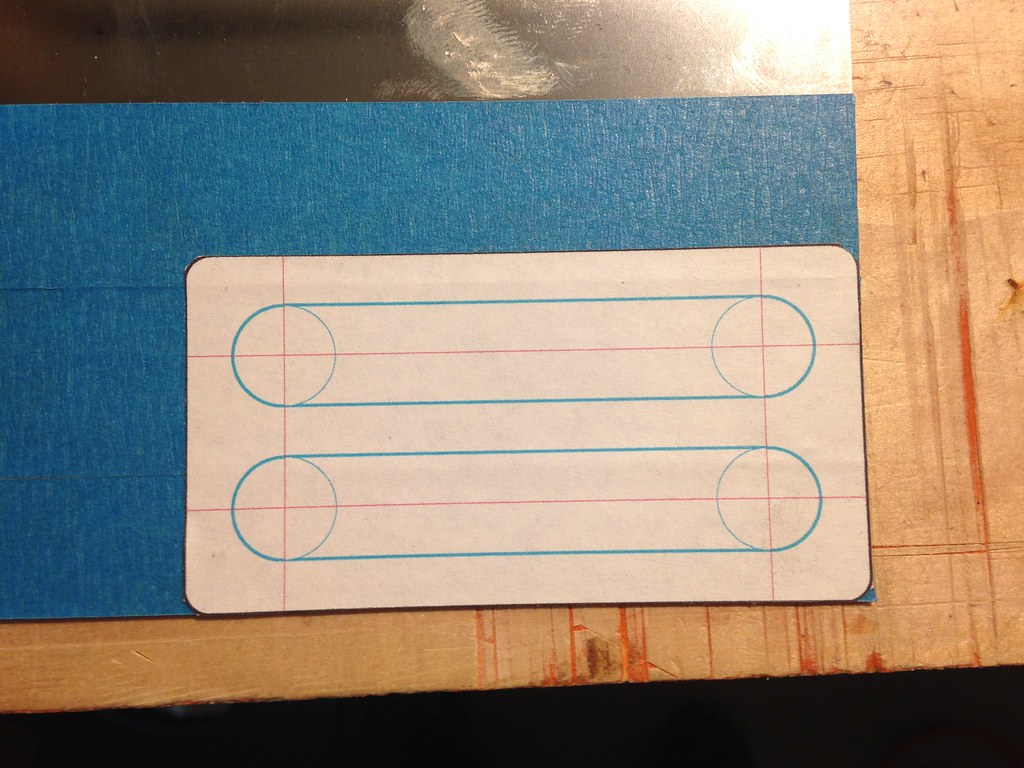
                  all the way from the bridge to the neck. Nice blue color too. Great find for a Grant!
                  This isn't the future I signed up for.

                  Comment


                  • #84
                    Tonight, I worked on my faux T40 cover. As is mentioned before, it's going to me more of a face plate that I'm going to put on the front of a blank Stingray cover.

                    I spent the last couple of days trying to envision building a little table-top plunge saw with my Dremel so I could cut the nickel silver sheet precisely. After deciding that I wasn't coming up with any brilliant ideas because I didn't feel like building a such a tool, I just went for it with one of those metal-cutting Dremel sawblades.


                    Here's my template that I Super 77'd to a sheet of 28 gauge nickel silver. I put the blue tape on first to protect the surface from scratches. I basically just used this a guide for my ka-chunker for making pilot holes.


                    Here's the rough cut holes. In a perfect world, I'd have a hole punch to just punch these out. Instead, I used my step drill to drill four 1/2" holes in each corner. Then I used the Dremel cutter to cut between them. I used the paper template as my guide.


                    Here we are after a little bit of initial clean-up. I used a flat bastard file mostly. I fine-tuned it with a finer file and a piece of 220 grit sandpaper wrapped around a 1/2" dowel.


                    I sanded it down to 1500 grit. It's beginning to get that mirror-like polish, although I do have some more scratches to work out. I stopped here because I ran out of 1800 and 2000. I'll pick some up tomorrow, sand it, and then I'll move over to automotive polish. It gets a little weird here because the sheet is almost paper thin. One misstep in sanding, the metal will bend and be ruined.

                    Once I finish polishing, I'll drill a small hole in the cover. I'll solder a ground wire to the face plate and then glue it down with contact cement.

                    I think that this pickup is going to look really freakin' boss.

                    I have yet to pot my pickup. I got a little ahead of myself and taped it up with friction tape before realizing that the wax would never soak through the tape! Oh well. Peeling the tape off won't be too hard and I'm pretty sure I can reuse it.

                    BTW, I will be making a second pickup once I complete this one. As pictured previously, I bought some bobbins and a T-Bird cover. I'll try a second design and see which one works best for me and this bass I'm building

                    Comment


                    • #85


                      Did some potting today with the CPES that Bruce Johnson recommended. Seems to work great! It appears to be a mixture of epoxy and acetone. I mixed up way too much - I did a 50/50 mixture - 1 Tbs of each. I could have used about 1/3 of that amount. I applied it with one of those cheap acetone brushes and it seemed to soak right through the friction tape and into the coils. I used wax parchment paper to protect my desktop. The CPES doesn't seem to soak through the wax paper, which is good.

                      The toughest part was finding the epoxy - there doesn't seem to be any vendors online that carry it. I actually had to call the manufacturer to find out where I could find some in Ventura County. Fortunately, there's a little boating supply place by the harbor that carries it. Ironically, the manufacturer is in The Bay Area where I grew up. I couldn't help but think, "Wow, if I still lived up North, I could have ridden my bike to go pick some epoxy up."

                      I decided not to hog out and route my mule today. I didn't want the dust all over my newly potted pickup. I'll let the epoxy cure overnight, and if I get some time tomorrow morning, I'll see if I can get to that.
                      Last edited by Freekmagnet; 03-05-2016, 10:42 PM.

                      Comment


                      • #86
                        Whatever you like, but most do wax potting, and it's very easy.
                        It all got discussed here.
                        http://music-electronics-forum.com/t36769/
                        T
                        "If Hitler invaded Hell, I would make at least a favourable reference of the Devil in the House of Commons." Winston Churchill
                        Terry

                        Comment


                        • #87
                          Originally posted by big_teee View Post
                          Whatever you like, but most do wax potting, and it's very easy.
                          It all got discussed here.
                          http://music-electronics-forum.com/t36769/
                          T
                          Thanks, I'll check that out.

                          A local luthier highly recommend the epoxy route to me. He offered to show me how to improve the wire feed mechanism on my winder, so I figured I'd give the epoxy a try as well. He's been a good source for wide spectrum of advice. If I decide that the epoxy doesn't work, I'll try the more traditional wax potting method.

                          That being said, this epoxy is really freaking cool. It went through the tape like water through a sponge.

                          Comment


                          • #88
                            Well, I got the mule routed out and the pickup complete and installed today!


                            I didn't have any pots laying around, so I hardwired the pickup into the jack.

                            It sounds really good! It's a nice, well balanced tone - not to bright, not to dark, clear sounding subtle midrange. Right now, I have the pickup placed about 12.625" from the 12th fret (roughly the 3rd octave?). I tried placing it a little closer to the bridge, in the MusicMan spot, and it sounded pretty good there as well. I have it strung with Sadowski Black Label flats.

                            It's probably my imagination, but the pickup has a similar vibe to my MusicMan. It may be because it the its a humbucker with similar space between the bobbins, but I wouldn't really know for sure.

                            The pickup could stand to be a little hotter. It's a little shy with the output. It has maybe a little less output than my P or my J. I guess if I was going to experiment more with this particular design, I'd try adding more winds by maybe 10%.

                            I'm not sure if I'm going to try more experiments with this design or if I'm going to move on to another. I'm kind of eager to find out what another pickup design with taller, narrower bobbins and a narrower string spacing sounds like. Maybe from there, I can decide which one would better suit the sound I'm imagining with this bass I'm building.

                            The only bummer was, I dropped a tool on to that super-cool nickel silver faceplate I made and ruined it. It's not a difficult piece to fabricate, but it's a bummer nonetheless. I'll probably wait until I'm ready to make a decision on this pickup. I can use the one I have for now as a comp piece.
                            Last edited by Freekmagnet; 03-07-2016, 05:48 AM.

                            Comment


                            • #89
                              Well, I know I haven't posted here about this project for a while. I've been busily working on these blade pickups and winding like crazy. Just as of a few days ago, I finally got a wind that I felt that I really liked. I'm not going to go as far as saying I am done, but I am zeroing in on a final wind. I'll spare you guys the long version and get to the cliff notes.

                              I decided that I hate Forbon and that for my purposes there is absolutely no reason to use it. First, I tried the Mojotone bobbins, but when I potted them with my acetone-cut epoxy...


                              ...they melted! I should have known that would happen - that was a pretty bonehead move on my part.

                              Realizing that this wouldn't work, I tried experimenting with things like illustration board and chipboard. What I finally settled on was this...


                              I made the flanges out of Strathmore Bristol Board. Bristol Board is a kind of do-it-all art board that works great for everything ranging from watercolors to architectural model making. I wrapped the bobbins in Epson Matte Presentation Paper. Both of these papers are easy to cut, fold and glue. I score all the creases with a bone folder before folding them and they are glued together with Lineco bookbinding glue. Lineco is a white glue that is designed to not curl papers. The papers are also very thin, so I can get a maximum amount of winding space. Lastly, I treat the flanges with Krazy Glue to stiffen them up. I don't know that this stage is completely necessary; the bobbin itself is very stiff and rigid considering it is made of paper. The whole process for making a pair takes be about 20-30 min.

                              I've been working on my winding technique as well. Using Lollar's winder, I've gotten so that I can make a fairly tight, even coil...


                              Being a cam-driven, the feeder arm tends to hang on the sides of the bobbin and the wire piles up there. I developed a rhythm where I just do a starting and stopping process, and I wait until the arm begins to return before I start the winder again - that way the wires don't get a chance to pile up.

                              I tried a few different bobbin heights and spacings. These bobbins ended up being almost 3/8" tall and about 3/4" wide. They were too bright for me when I maxed the height up to nearly .4375" tall. I spaced the poles out to nearly 3/4" center. I felt like spacing them out more gave the pickups tone a more distinct character. Windings as well. These bad boys are up to about 13.6K for the pair. They sound really fat and really bright. They have a nice, immediate attack complimented by a nice, full midrange. At first I thought I was winding them too hot, but the ceramic poles seem to be holding up no prob brightness-wise. In fact, they they almost seem a little too bright. I'm hoping that when I install the electronics later this week, they'll tame down a tad.

                              The steel inductance bar was buzzing like crazy. I shielded it with a strip of 22ga brass. No more buzzing.


                              I'm getting a lot of finger noise. I'm thinking that maybe they're a little microphonic. I took them out last night and dabbed more epoxy onto the coils. Hopefully, that'll do it. I need to work on my potting process a little more.

                              I'm still in the deciding process with this pickup tone-wise. Right now, I'm liking it more and more. It sounded great at rehearsal the other night. If this isn't the final wind, then I'm really close. Maybe this is the wind I'm looking for and I just need to fine tune some of the slight performance issues.

                              I apologize for not being very diligent in my updates here. I have been recording this process in greater detail elsewhere. Hopefully, I won't be the cause of any more fights here on the pickup maker's forum.

                              I'll be moving on to making a cover for this next.

                              Comment


                              • #90
                                I've wound and potted hundreds of those EMG 35 bobbins.
                                Never tore one up.
                                However, I do wax potting, at 140F.
                                Maybe you just like to make bobbins?
                                T
                                Last edited by big_teee; 04-19-2016, 04:19 AM.
                                "If Hitler invaded Hell, I would make at least a favourable reference of the Devil in the House of Commons." Winston Churchill
                                Terry

                                Comment

                                Working...
                                X