 Tweet
Tweet
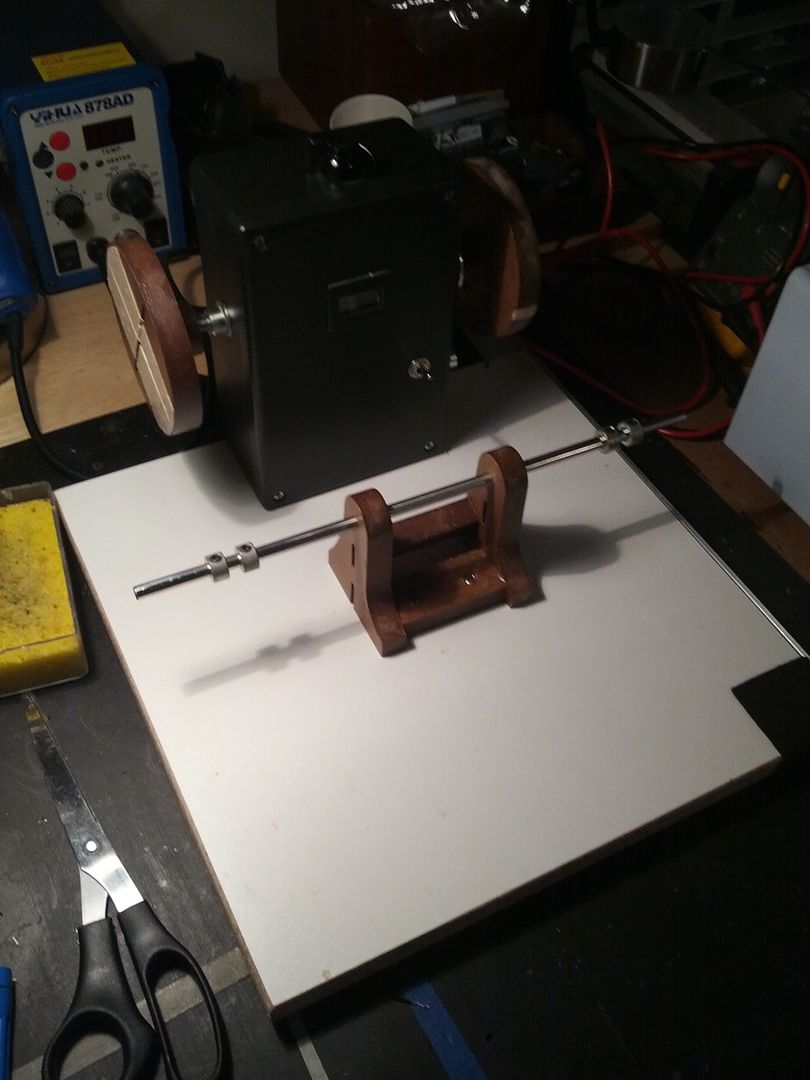
Schatten Update.
I have outgrown my Schatten. The underpowered motor was driving me crazy and I was tired of no reverse. So we upgraded it.
12v Johnson 9167AK Motor, 6600 RPM, 5 Pole, 12vdc
Numbers on the casing are
66430
9167AK
3H0144

I bought this motor on eBay after finding a post here about it being a good replacement. I do not guarantee this motor will not fry your speed control so ask someone smarter to figure out the load. I just didn't care anymore about wrecking the winder.
I had to drill out the pulley from the other motor to .125" and press it on the new shaft. Luckily the shaft sticks out the back of the casing enough I could just stick it in the vise.
The motor used computer fine threaded chassis screws to mount and the holes lined up almost perfect. I had to clean them up a bit.

The wiring is pretty simple. I took a DPDT ON-ON switch and wired the motor leads to the middle terminal. I wired the power leads to the top lugs and crossed wires to the lower lugs. This reverses polarity�Ķ just remember to stop the motor before switching it.


I have outgrown my Schatten. The underpowered motor was driving me crazy and I was tired of no reverse. So we upgraded it.
12v Johnson 9167AK Motor, 6600 RPM, 5 Pole, 12vdc
Numbers on the casing are
66430
9167AK
3H0144

I bought this motor on eBay after finding a post here about it being a good replacement. I do not guarantee this motor will not fry your speed control so ask someone smarter to figure out the load. I just didn't care anymore about wrecking the winder.
I had to drill out the pulley from the other motor to .125" and press it on the new shaft. Luckily the shaft sticks out the back of the casing enough I could just stick it in the vise.
The motor used computer fine threaded chassis screws to mount and the holes lined up almost perfect. I had to clean them up a bit.
The wiring is pretty simple. I took a DPDT ON-ON switch and wired the motor leads to the middle terminal. I wired the power leads to the top lugs and crossed wires to the lower lugs. This reverses polarity�Ķ just remember to stop the motor before switching it.
Comment