This was a project I did months ago, but I was really happy with the results so I figured I would share how I did it.
First, let me say that, IMO, the best way to accomplish this is to use a proper router setup. But that may not always be realistic for some in the DIY community.
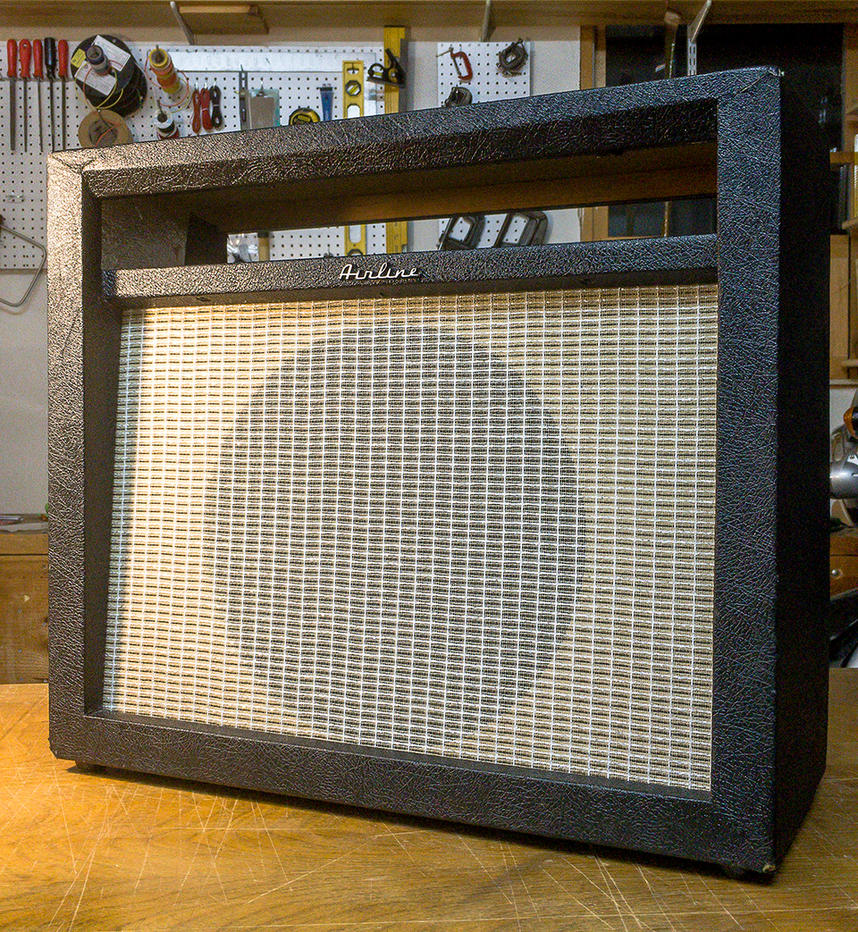
This project grew out of my desire to swap out a Vintage 15" Jensen P15L, with a new 12" Eminence Red Fang which I was anxious to try out.
I could have waited and bought the Porter Cable plunge router attachment for my router,... but then I would have had to wait for the plunge router attachment for my router. I already had the Birch Ply lumber for the baffle, speaker, hardware, and a free evening armed with nothing but a project to fixate on. I convinced myself that with a little setup and a couple of simple measurements, I could use a jigsaw to do this with a fair amount of precision. It was a spontaneous project, what could possibly go wrong? - just the normal shit. But I'll get to that in a little bit.
The idea was simple: As long as the cutting edge of the jigsaw blade is able to maintain the distance from center of half the diameter of the mounting hole, it will cut a perfect full radius. That may be a bit wordy, but by mounting the jigsaw to a base of thin rigid material, you can create a kind of compass using the center point of the hole as a pivot.
Determine the mounting location on the baffle (mine was centered), and mark the center point. Divide the total diameter of the hole in half. Here's the important thing to remember – this hole needs to be exactly perpendicular, square to the front edge of the cutting blade in the base guide. like this:
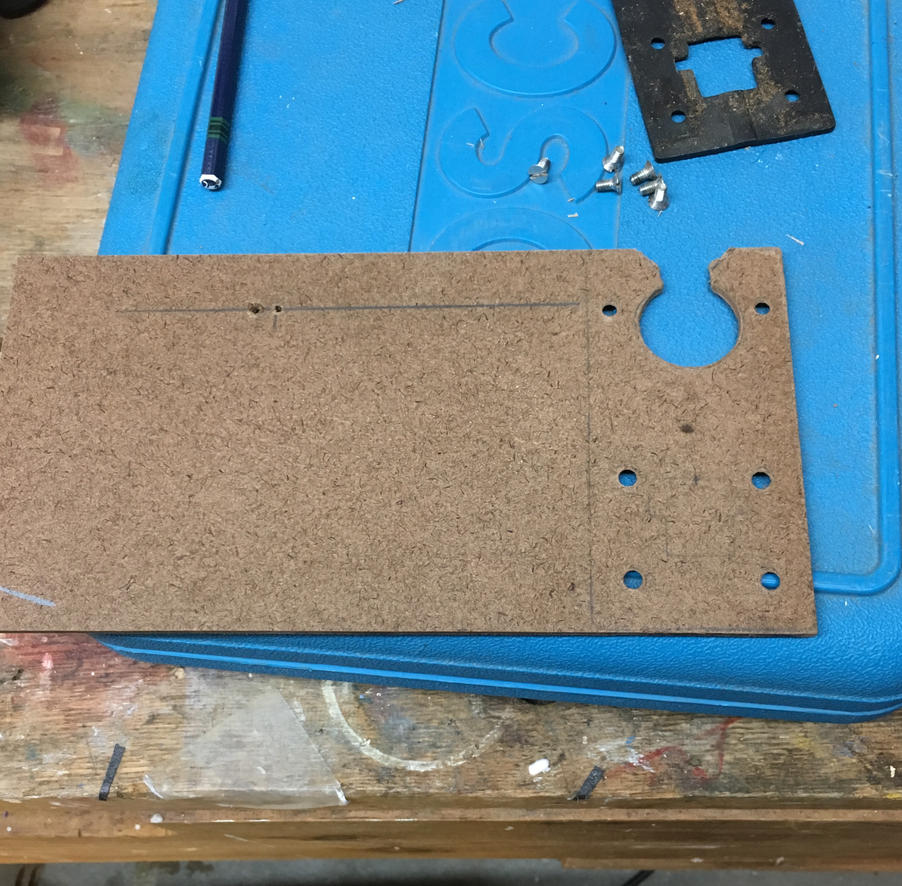
Now, you might ask: "hey, how come you have two pivot holes a half inch away from each other there"?
Well, that's what happens when you set everything up in haste, drill a pilot hole, and waste a perfectly good piece of birch measuring for the outside diameter of the speaker (12"). I held the speaker over it and quickly realized "well, that's not gonna' work so much". Luckily I had extra stock.
But, here is the jigsaw mounted:
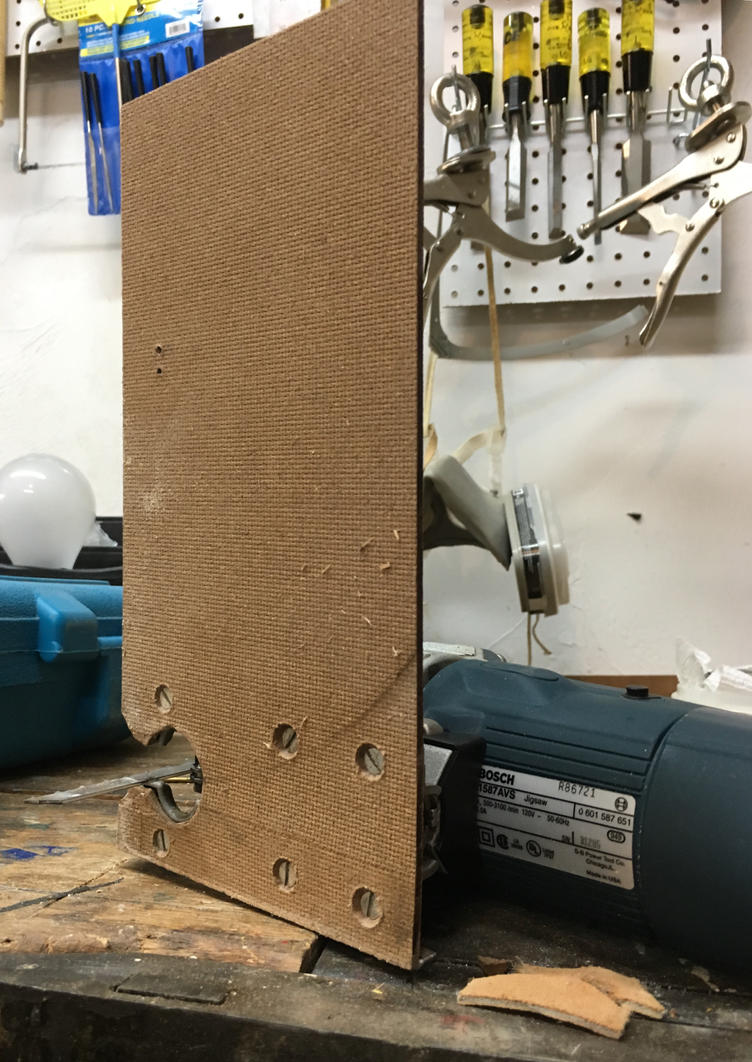
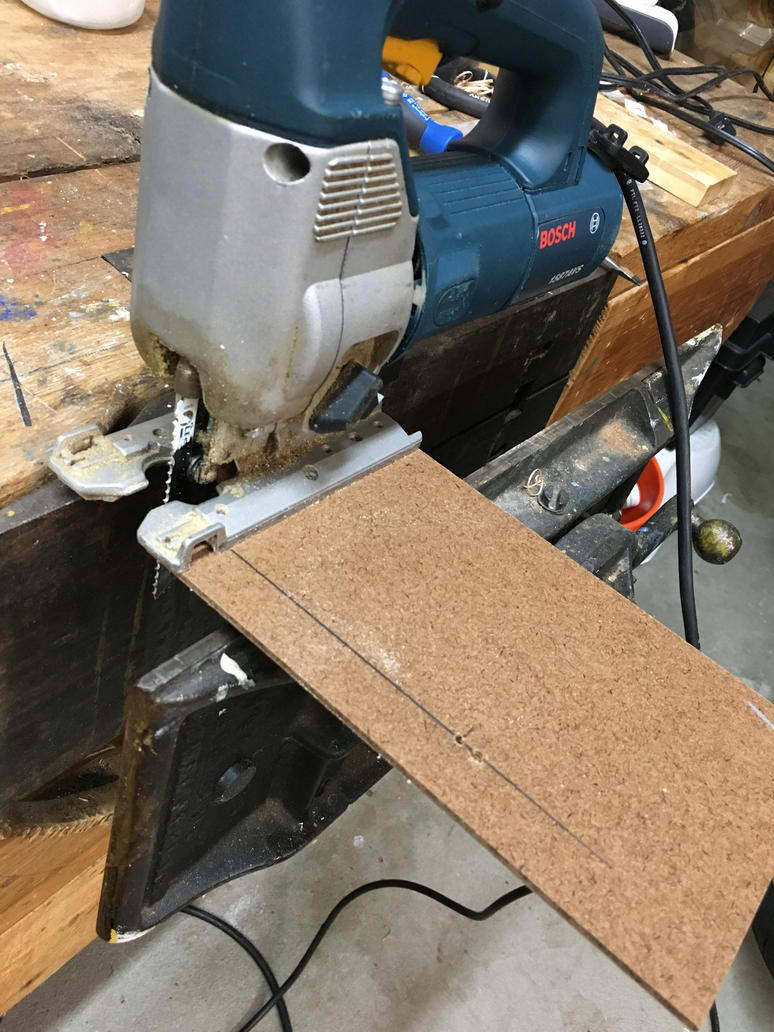
Once I had the correct mounting hole diameter (11.07"/281.2mm), I also drew a radius guide line before cutting so I could see if there were any problems. I drilled a pilot hole using a 1" fosner bit to give a little bit of play when mounting the jigsaw. I raised up the baffle using four 2X4 blocks under each corner for blade clearance and clamped it to the table. **important to put a block under the center of the hole as well**
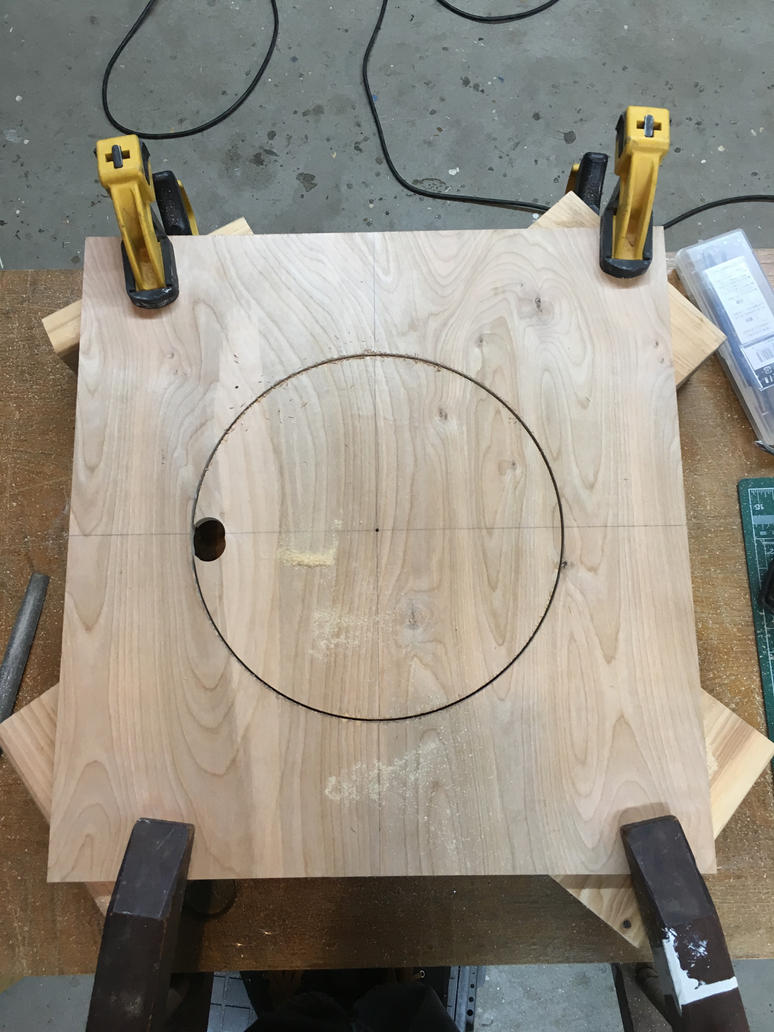
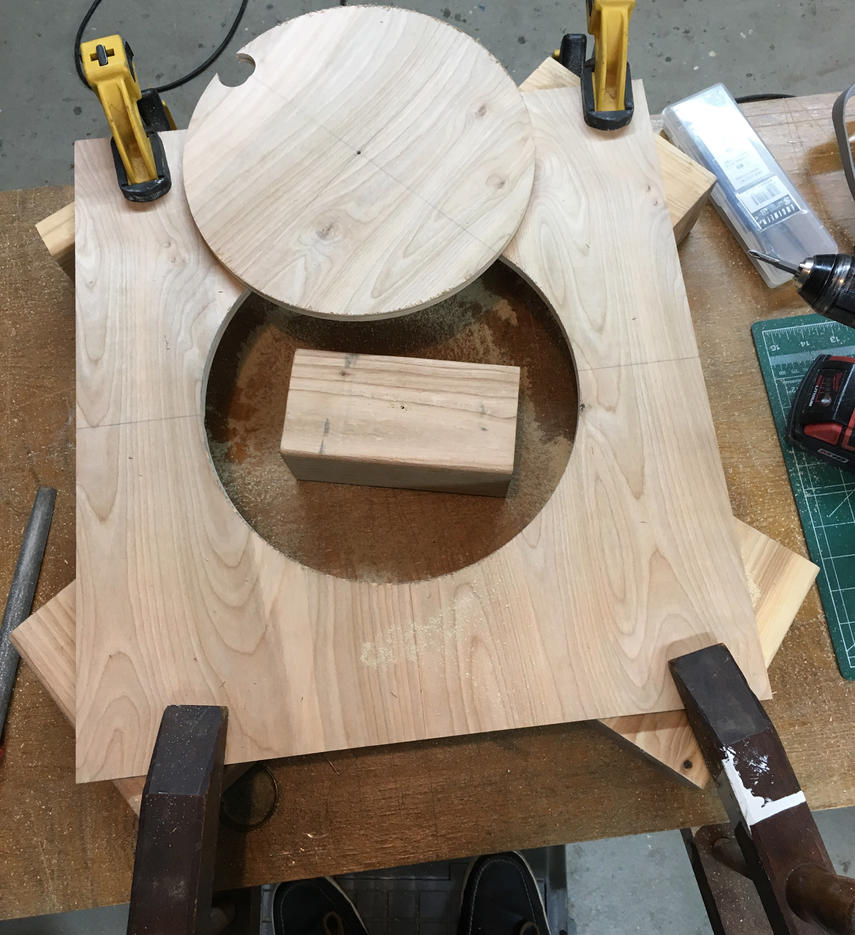
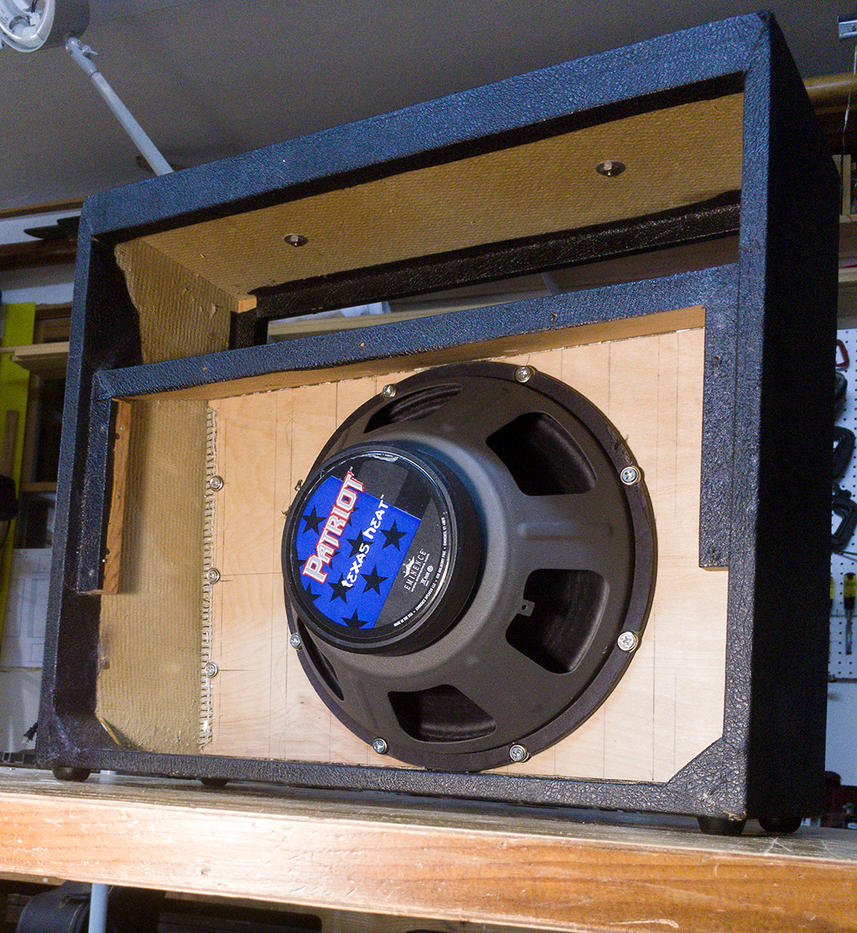
The guide worked fantastic. As good as I'd hoped. After a small amount of sanding, the baffle installed nice and snug
First, let me say that, IMO, the best way to accomplish this is to use a proper router setup. But that may not always be realistic for some in the DIY community.
This project grew out of my desire to swap out a Vintage 15" Jensen P15L, with a new 12" Eminence Red Fang which I was anxious to try out.
I could have waited and bought the Porter Cable plunge router attachment for my router,... but then I would have had to wait for the plunge router attachment for my router. I already had the Birch Ply lumber for the baffle, speaker, hardware, and a free evening armed with nothing but a project to fixate on. I convinced myself that with a little setup and a couple of simple measurements, I could use a jigsaw to do this with a fair amount of precision. It was a spontaneous project, what could possibly go wrong? - just the normal shit. But I'll get to that in a little bit.
The idea was simple: As long as the cutting edge of the jigsaw blade is able to maintain the distance from center of half the diameter of the mounting hole, it will cut a perfect full radius. That may be a bit wordy, but by mounting the jigsaw to a base of thin rigid material, you can create a kind of compass using the center point of the hole as a pivot.
Determine the mounting location on the baffle (mine was centered), and mark the center point. Divide the total diameter of the hole in half. Here's the important thing to remember – this hole needs to be exactly perpendicular, square to the front edge of the cutting blade in the base guide. like this:

Now, you might ask: "hey, how come you have two pivot holes a half inch away from each other there"?
Well, that's what happens when you set everything up in haste, drill a pilot hole, and waste a perfectly good piece of birch measuring for the outside diameter of the speaker (12"). I held the speaker over it and quickly realized "well, that's not gonna' work so much". Luckily I had extra stock.
But, here is the jigsaw mounted:


Once I had the correct mounting hole diameter (11.07"/281.2mm), I also drew a radius guide line before cutting so I could see if there were any problems. I drilled a pilot hole using a 1" fosner bit to give a little bit of play when mounting the jigsaw. I raised up the baffle using four 2X4 blocks under each corner for blade clearance and clamped it to the table. **important to put a block under the center of the hole as well**


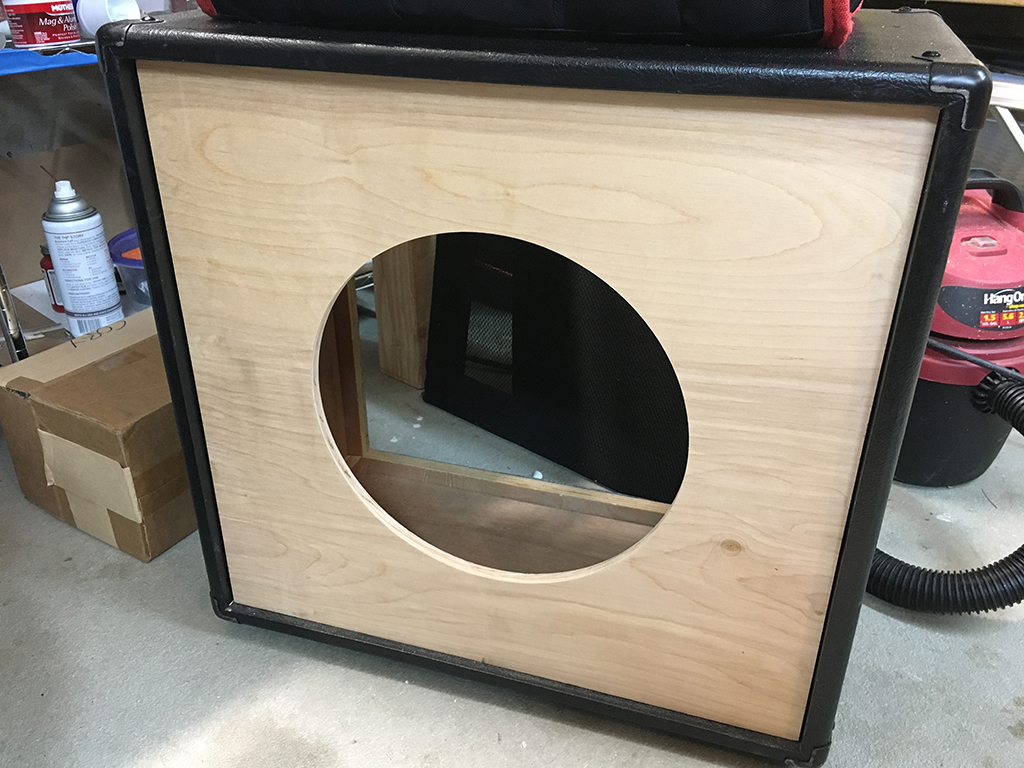
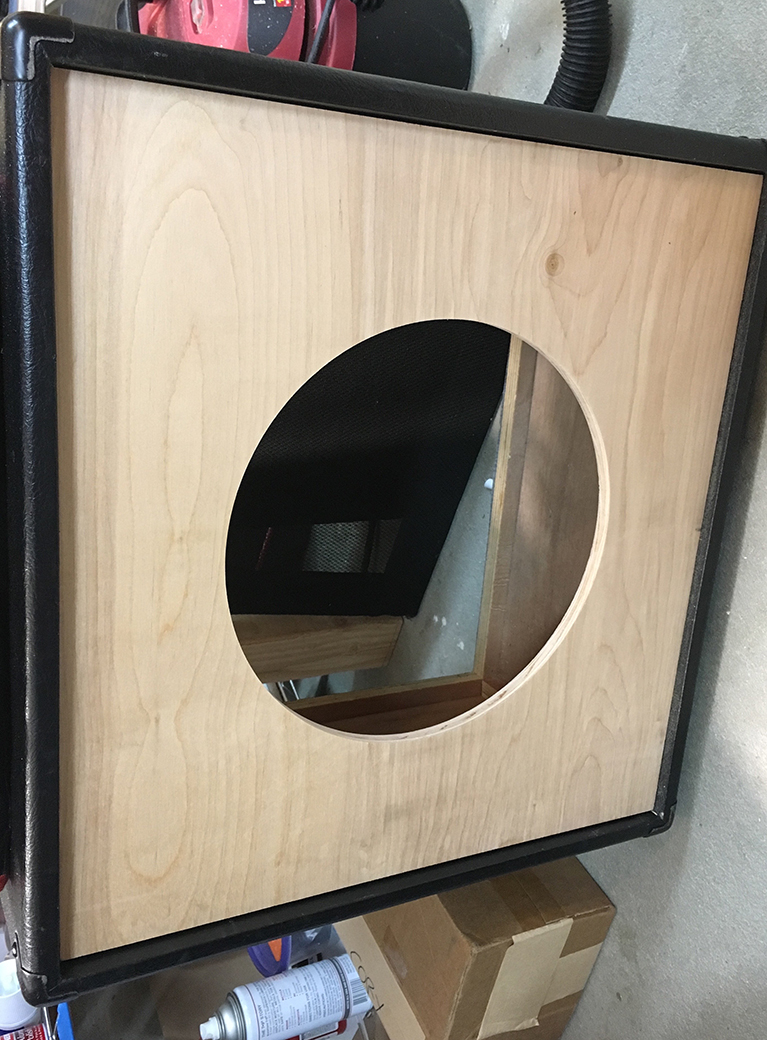
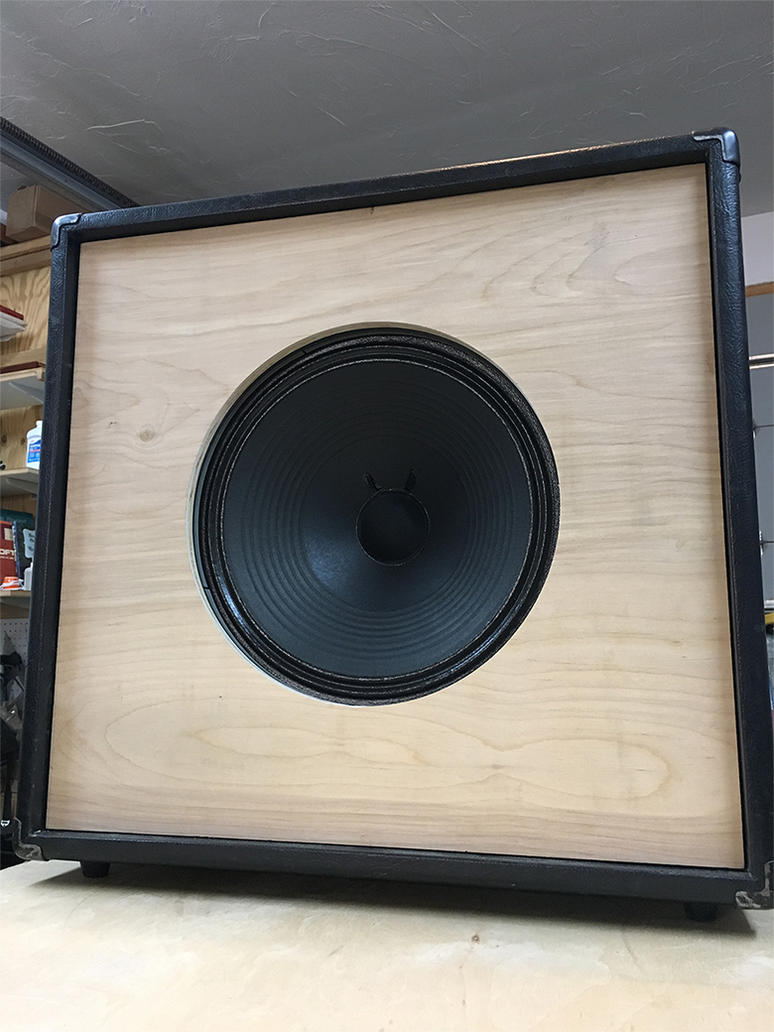
The guide worked fantastic. As good as I'd hoped. After a small amount of sanding, the baffle installed nice and snug


Comment