Ad Widget

Collapse

Announcement

Collapse
No announcement yet.

How to cut a perfect radius in a speaker baffle using a jigsaw

Collapse
X
 
  • Filter
  • Time
  • Show
Clear All
new posts

  • How to cut a perfect radius in a speaker baffle using a jigsaw

    This was a project I did months ago, but I was really happy with the results so I figured I would share how I did it.
    First, let me say that, IMO, the best way to accomplish this is to use a proper router setup. But that may not always be realistic for some in the DIY community.
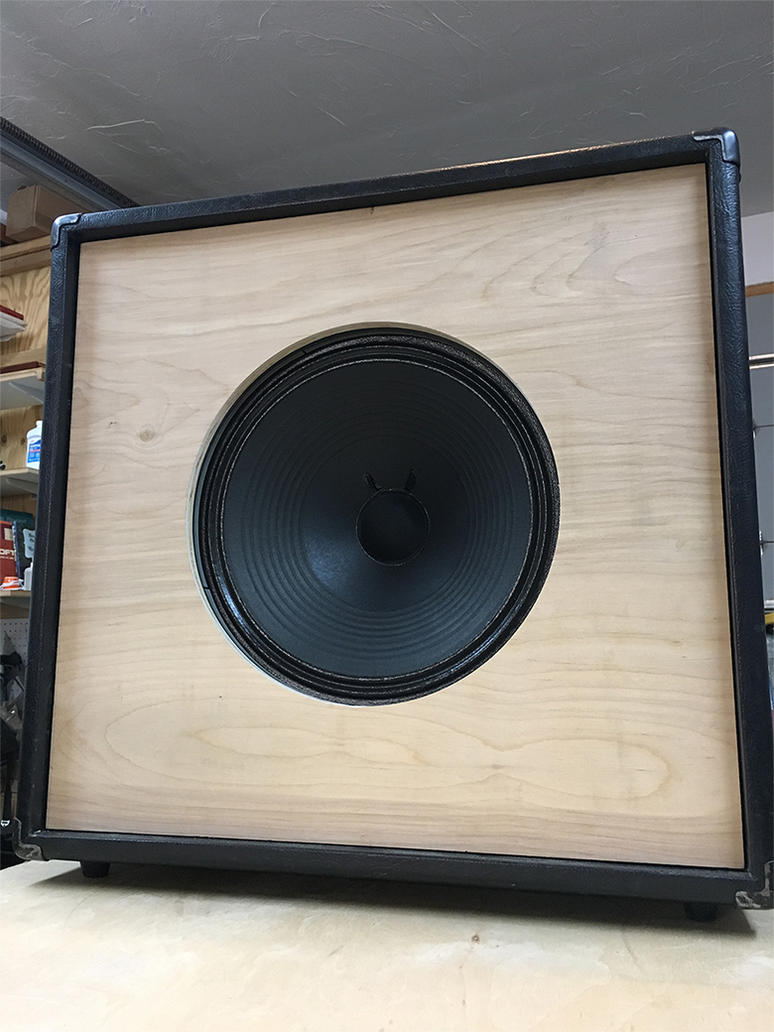
    This project grew out of my desire to swap out a Vintage 15" Jensen P15L, with a new 12" Eminence Red Fang which I was anxious to try out.
    I could have waited and bought the Porter Cable plunge router attachment for my router,... but then I would have had to wait for the plunge router attachment for my router. I already had the Birch Ply lumber for the baffle, speaker, hardware, and a free evening armed with nothing but a project to fixate on. I convinced myself that with a little setup and a couple of simple measurements, I could use a jigsaw to do this with a fair amount of precision. It was a spontaneous project, what could possibly go wrong? - just the normal shit. But I'll get to that in a little bit.

    The idea was simple: As long as the cutting edge of the jigsaw blade is able to maintain the distance from center of half the diameter of the mounting hole, it will cut a perfect full radius. That may be a bit wordy, but by mounting the jigsaw to a base of thin rigid material, you can create a kind of compass using the center point of the hole as a pivot.
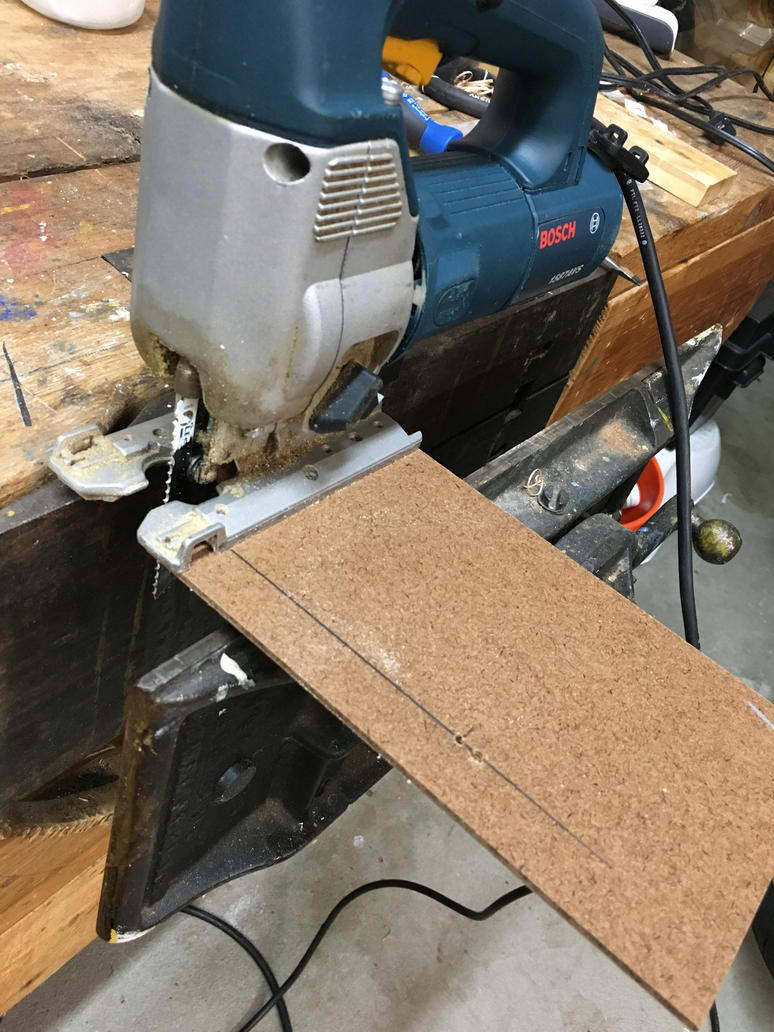
    Determine the mounting location on the baffle (mine was centered), and mark the center point. Divide the total diameter of the hole in half. Here's the important thing to remember – this hole needs to be exactly perpendicular, square to the front edge of the cutting blade in the base guide. like this:
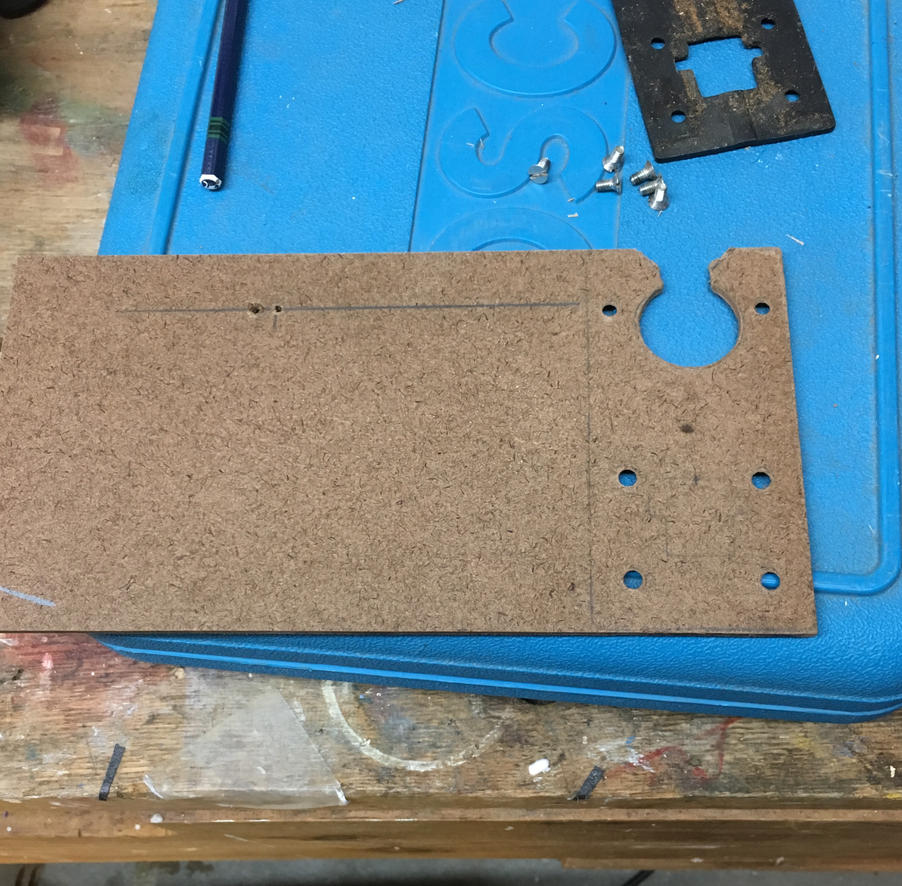

    Now, you might ask: "hey, how come you have two pivot holes a half inch away from each other there"?
    Well, that's what happens when you set everything up in haste, drill a pilot hole, and waste a perfectly good piece of birch measuring for the outside diameter of the speaker (12"). I held the speaker over it and quickly realized "well, that's not gonna' work so much". Luckily I had extra stock.
    But, here is the jigsaw mounted:
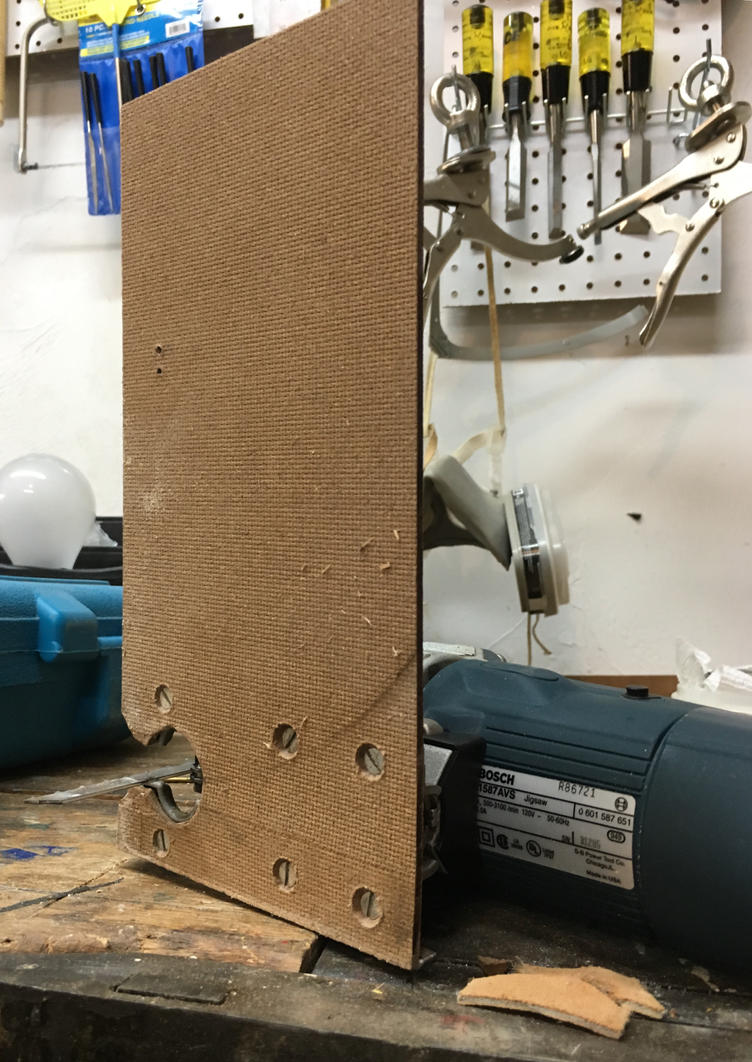


    Once I had the correct mounting hole diameter (11.07"/281.2mm), I also drew a radius guide line before cutting so I could see if there were any problems. I drilled a pilot hole using a 1" fosner bit to give a little bit of play when mounting the jigsaw. I raised up the baffle using four 2X4 blocks under each corner for blade clearance and clamped it to the table. **important to put a block under the center of the hole as well**
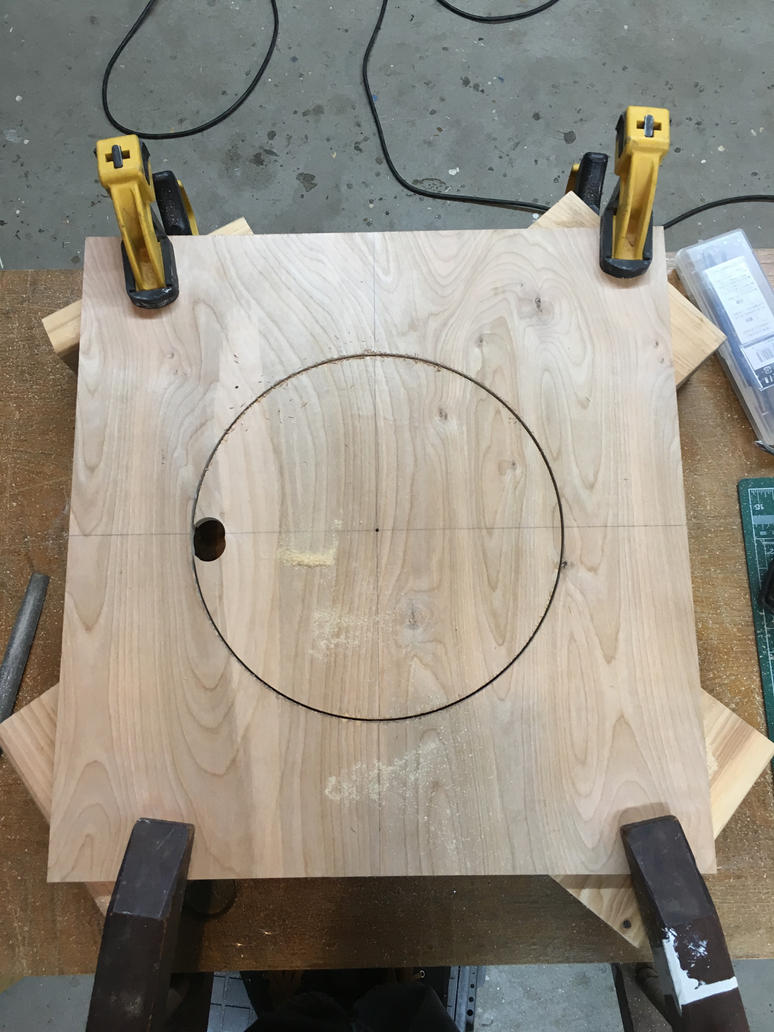
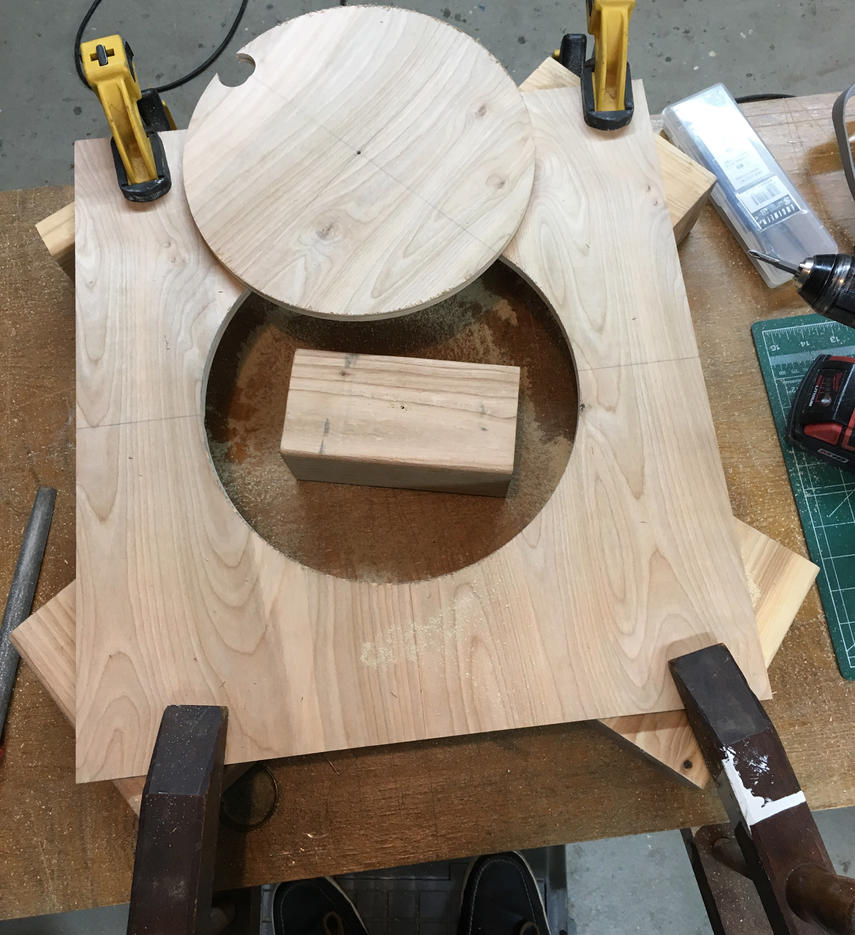


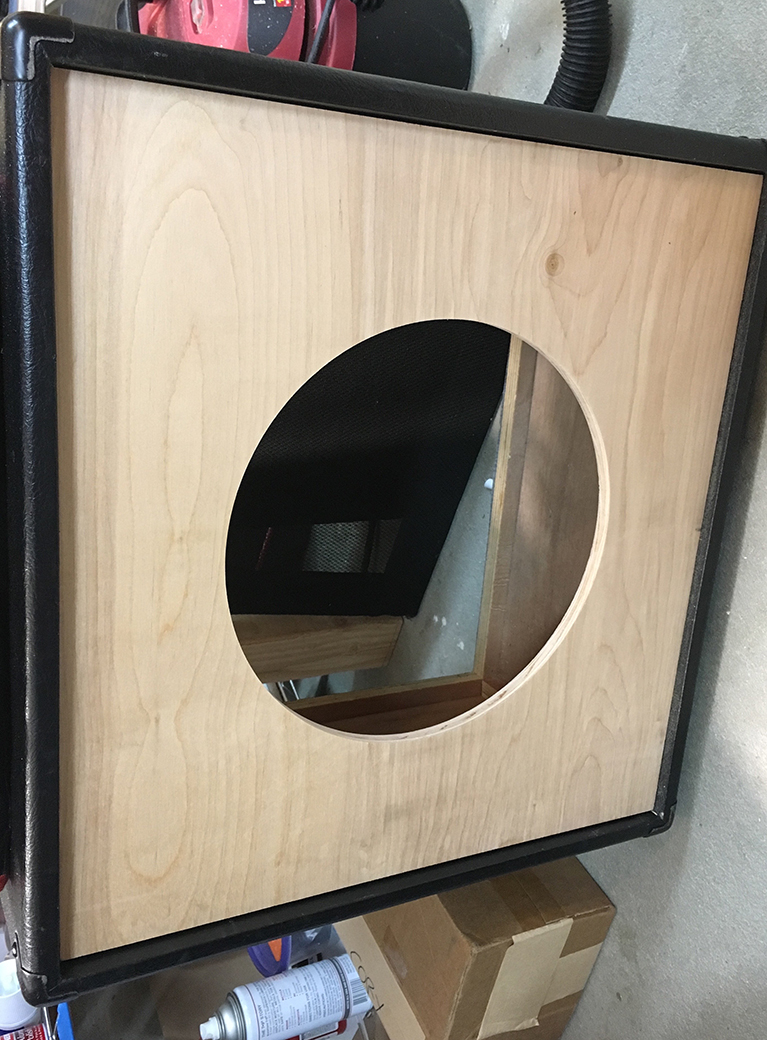
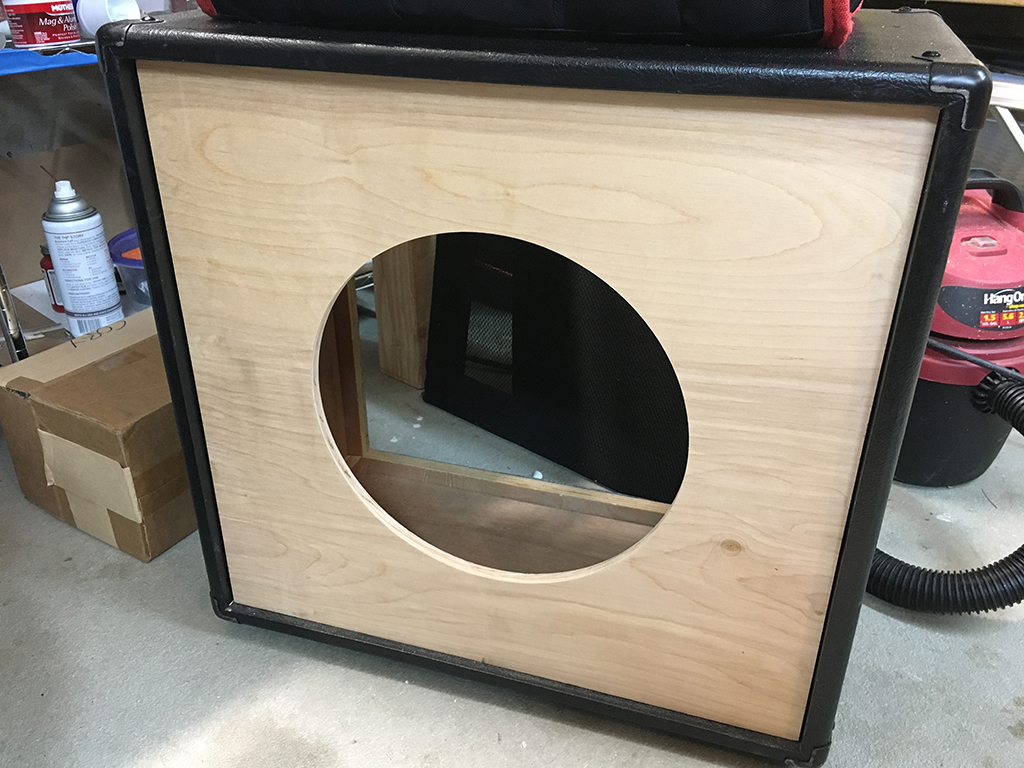
    The guide worked fantastic. As good as I'd hoped. After a small amount of sanding, the baffle installed nice and snug
    If I have a 50% chance of guessing the right answer, I guess wrong 80% of the time.

  • #2
    I really wish I had cut the dimensions on the birch so that the grain ran vertical so as to better bear the weight under load..
    There, that's better!


    If I have a 50% chance of guessing the right answer, I guess wrong 80% of the time.

    Comment


    • #3
      nice work, how's the speaker mounted? Shallow screws from the rear?

      Hmmm that sounded worse than I intended...

      Comment


      • #4
        Originally posted by tedmich View Post
        nice work, how's the speaker mounted? Shallow screws from the rear?

        Hmmm that sounded worse than I intended...
        yeah. But, I do like the finish of machine screws and threaded inserts if I were to do it again.
        I will say, I don't have a good sense of grill cloth handling yet.
        If I have a 50% chance of guessing the right answer, I guess wrong 80% of the time.

        Comment


        • #5
          Originally posted by SoulFetish View Post
          yeah. But, I do like the finish of machine screws and threaded inserts if I were to do it again.
          I will say, I don't have a good sense of grill cloth handling yet.
          That looks mint. Thanks for the tip. I just made a 2x10 baffle with free-handed holes, I wish I'd seen this first. I do have them hiding behind grill cloth though. I found that Home Depot sells the T-nuts if you don't want to order online.

          Installing the cloth can indeed be a great source of frustration. It's not so bad if you're using the black stuff, but if it's a lighter color it's more noticeable when not aligned properly. I have found it best to get the first edge perfectly straight, staple-by-staple, taking care with each to make sure that the pattern of the cloth is parallel with the baffle edge. This is very tedious but pays off in the end. I then pull the cloth as tight as I can from the opposite edge, again, ensuring that it is parallel. Then the sides, and it's done.

          Maybe that's all too much info but perhaps it'll help.

          Comment


          • #6
            You're method is more stable than mine, I use a piece of string around a center screw, tied at the proper length to the jigsaw. A router works equally well, (just be sure to maintain the tension with either!)

            Comment


            • #7
              I also have always done the holes with a jig saw freehand and then fine up to the line with a barrel sander chucked into my drill. But only because I've never had to show off the hole. There's always been a grill or grill cloth of some kind to hide little imperfections. This is going into my knowledge arsenal in case it comes up.

              I'll add one piece of advice if I may... Use a new blade and go slow. Never try to force the cut. If the blade is compromised at all or if you try to move too quickly the blade could flex side to side off of a perpendicular plane. Jigsaws are prone to this because the blade length floats. And plywood exacerbates this because there are different grain orientations and hardness throughout. I speak from experience. If you try to force this rig you may even feel changes in tension. Any change in tension hard enough to flex the blade can cause it to skew. Just go slow and let the teeth cut. Never force.
              "Take two placebos, works twice as well." Enzo

              "Now get off my lawn with your silicooties and boom-chucka speakers and computers masquerading as amplifiers" Justin Thomas

              "If you're not interested in opinions and the experience of others, why even start a thread?
              You can't just expect consent." Helmholtz

              Comment


              • #8
                Important update about blade type if you plan to use this method!!

                Chuck provided some advice here on blade use:
                Originally posted by Chuck H View Post
                I'll add one piece of advice if I may... Use a new blade and go slow. Never try to force the cut. If the blade is compromised at all or if you try to move too quickly the blade could flex side to side off of a perpendicular plane. Jigsaws are prone to this because the blade length floats. And plywood exacerbates this because there are different grain orientations and hardness throughout. I speak from experience. If you try to force this rig you may even feel changes in tension. Any change in tension hard enough to flex the blade can cause it to skew. Just go slow and let the teeth cut. Never force.
                This is not only advised, but should be read as a critical part of the instruction. I can confirm that if care is not take to use the right blade, this method will not work as described and may result in damage to the blade, jigsaw, or baffle.

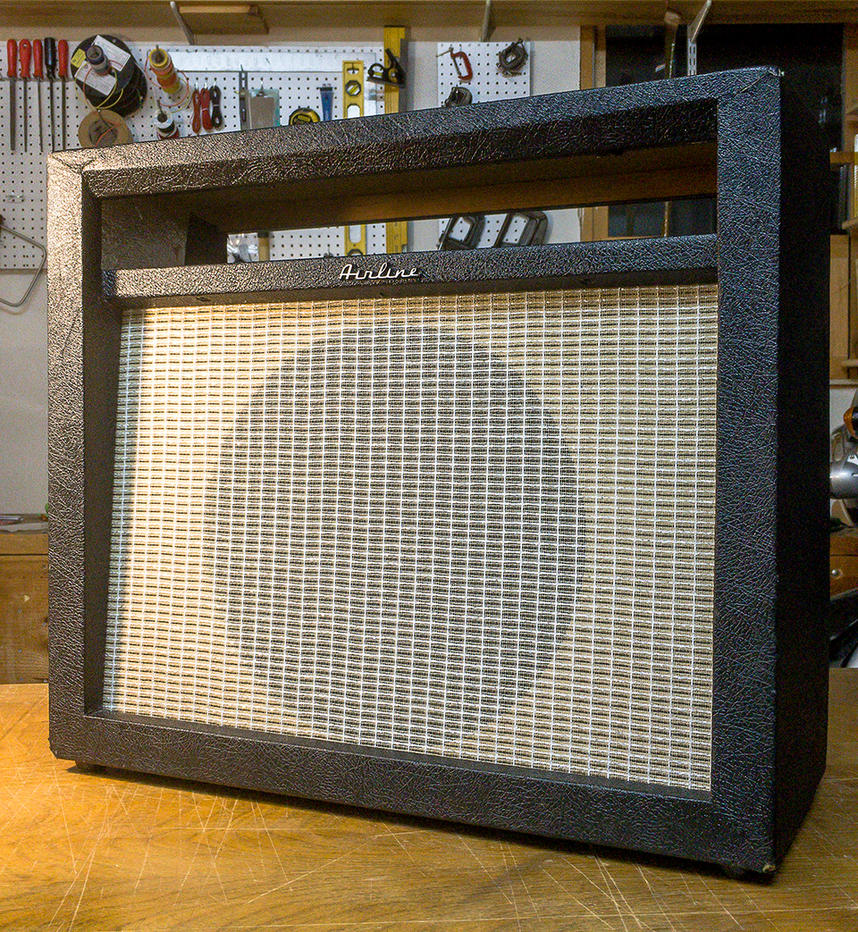
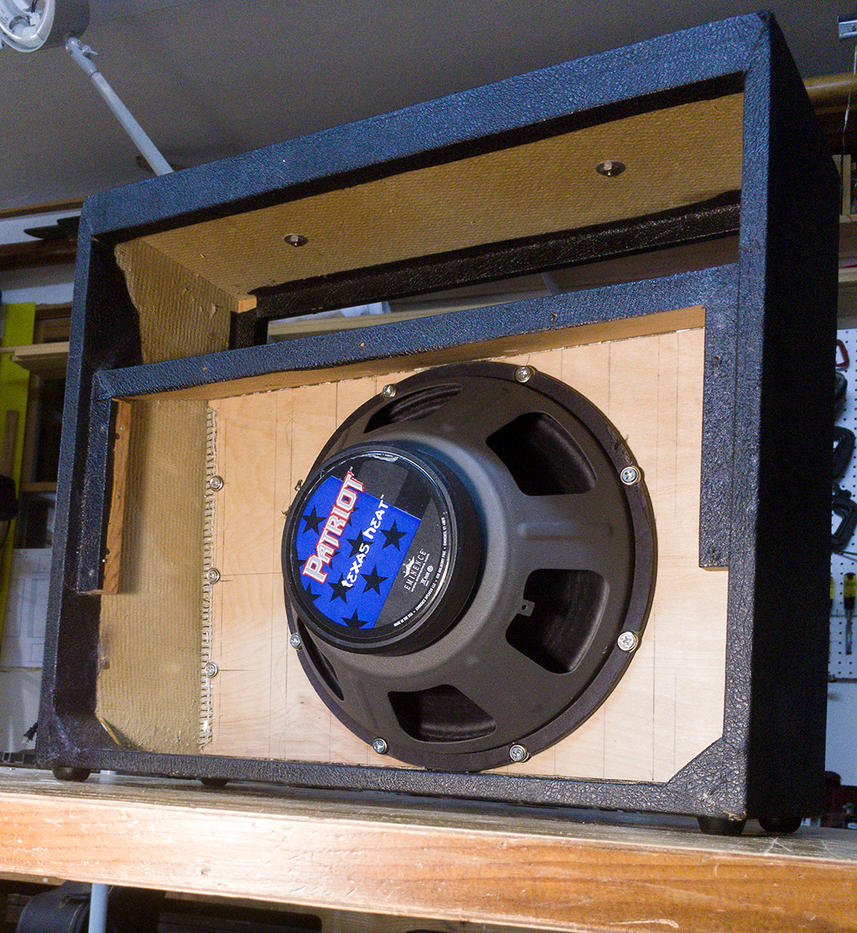
                I took a cabinet repair/modification side job over this week for an old Airline Amplifier. Long story short, Making a new baffle out of 1/4" birch to change to a 12" speaker was part of the work. So, I saved the Jig, figuring I could get 1-2 more passes out of it if I need to. When it came time to make the cut I noticed that the blade looked a little worn, so I wanted to buy a new blade (Although it worked fine the last time I used it).
                I went to home depot and looked at the blades available and they had a Bosch 3-blade pack with a 20 and two 14 tpi specifically for plywood and other laminates at the advise of one of the associates. DO NOT use these for this job. The blade was much too thin and flexible, and the teeth did not remove enough wood to handle the radius. Because of this, the blade wants to curve which results in the blade beveling closer to center on the bottom of the cut and will ultimately make the direction spiral rather than stay in the set mounting hole radius.
                I had already done much of the work on the 1/2" thick baffle (including cutting a 1/4" rabbet in top of the baffle to retrofit into the original 1/4" slotted cabinet). I was able to save the job and fix it, but it took mounting sand paper to a thick dowel and hand sanding.
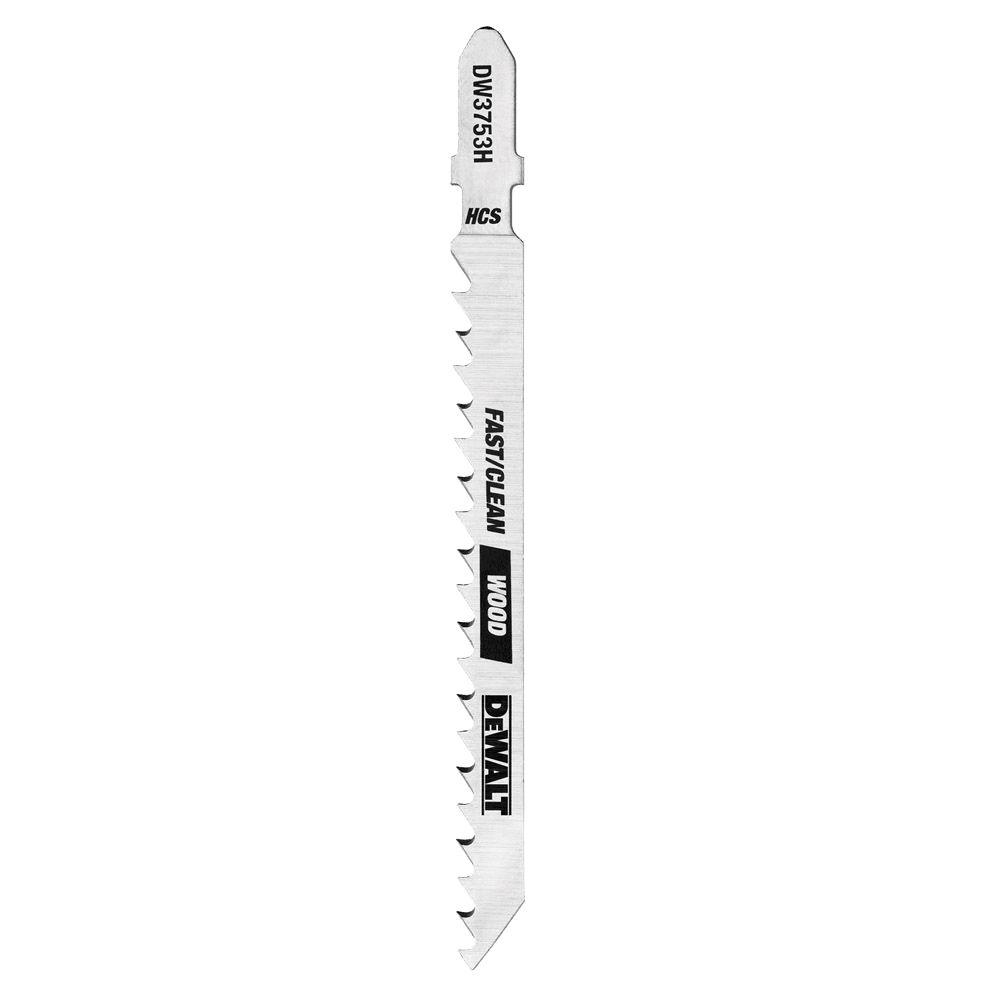
                After the job, I looked at the original blade which gave me great results here are a couple of things I noticed: The blade was thicker from the perspective of looking at the teeth straight on and provided more strength in keeping the blade cutting straight up and down. Also, there were less teeth, and were offset wider for a larger cutting channel providing clearance for the blade to make the corner of the radius.
                The labeling is worn but I think the original blade I used was comparable to this one.
                If I have a 50% chance of guessing the right answer, I guess wrong 80% of the time.

                Comment


                • #9
                  Having used a jig saw, i finally bought a plunge router and a circle jig. To me, well worth the price.
                  https://www.parts-express.com/cat/circle-jigs/338

                  Comment


                  • #10
                    Originally posted by mozz View Post
                    Having used a jig saw, i finally bought a plunge router and a circle jig. To me, well worth the price.
                    https://www.parts-express.com/cat/circle-jigs/338
                    I was thinking the same thing, but from a different perspective. You could make your own guides for plunge routing with the jigsaw. That way you only need to make two perfect jigsaw cuts. One for 10" speakers and one for 12" speakers. Just add the fence width of your router to the hole size. That gives a lot of stability and control. More than the jig I think. After that making perfect holes is a lot easier. You save the cost of the jig too. Of course you don't get the other size options the jig offers, but most of us don't need them.
                    "Take two placebos, works twice as well." Enzo

                    "Now get off my lawn with your silicooties and boom-chucka speakers and computers masquerading as amplifiers" Justin Thomas

                    "If you're not interested in opinions and the experience of others, why even start a thread?
                    You can't just expect consent." Helmholtz

                    Comment


                    • #11
                      Originally posted by mozz View Post
                      Having used a jig saw, i finally bought a plunge router and a circle jig. To me, well worth the price.
                      https://www.parts-express.com/cat/circle-jigs/338
                      Yes! Those look great! I was looking at those before I cut the first baffle. I should just buy the plunge router attachment for my porter cable. Those have worked out well for you?
                      If I have a 50% chance of guessing the right answer, I guess wrong 80% of the time.

                      Comment


                      • #12
                        I've only cut 2 so far but they are beautiful. 1/16" increments from 2-1/4" to 18-3/16" in diameter. You can do tweeters to subs so i find that as a plus. So, if you have a heavy speaker such as a EVM12L, you can give the t nuts a little more support if you need by making the next smaller sized hole.

                        Pretty sure there is a list of what routers it fits.
                        Mounts directly to the base of 19 different models of plunge routers including Bosch 1613 and 1615, DeWalt 621 and 625, Freud FT2000E, Hitachi M8V, TR12 and M12V, Porter Cable 690 series and 7539, Skill 1823 and 1835, and all Sears, Ryobi and Makita models.

                        Comment


                        • #13
                          1/16”?? That’s... awesome! You know this particular job took me a while to do from the rabbet cut, speaker hole, and took a long time on the grill cloth (but It’s such a huge improvement over my first attempt). If I can speed up the process I think I would definitely take some more cabinet jobs.
                          If I have a 50% chance of guessing the right answer, I guess wrong 80% of the time.

                          Comment


                          • #14
                            Here's how the Airline cabinet job came out. How's that for speaker diameter clearance


                            If I have a 50% chance of guessing the right answer, I guess wrong 80% of the time.

                            Comment


                            • #15
                              That is most exellent grill cloth allignment!

                              Comment

                              Working...
                              X