Ad Widget

Collapse

Announcement

Collapse
No announcement yet.

Vero stripboards for FX pedal projects

Collapse
X
 
  • Filter
  • Time
  • Show
Clear All
new posts

  • Vero stripboards for FX pedal projects

    Vero stripboards for FX pedal projects

    I finally got around to ordering some stripboards in 2 different sizes for FX pedal projects. Making or buying pcb's for projects has always been the issue for me. When I was building all of the Craig Anderton projects 30 years ago I would trace out his layout drawings on clear acetate sheets, punching holes for the copper pads and then copying them onto copper-clad pcb blanks using acid-resist pens, et al. What a hassle! I tried photo-resist boards a few times- even built an UV light rig- but they never came out very well.

    Perfboard is great for prototypes - or Trainwreck guitar amps - but pretty much not ready for primetime. I used a lot of the Radio Shack DIP IC pcbs for relay boards for guitar amps but they were very limited.

    Enter Vero stripboards, a real game changer, especially for the sharing of designs. No need for a precise drawing of the board layout to be copied one way or another. I consider the concept to be potentionally as revolutionary as BASIC was to PC programming back in the 80s. I guess that it was with arduinos that they became really popular with DIYers but I learned that they were introduced in the UK in the early 60s.

    Here is a link to one site with a lot of stripboard "maps" for FX projects, hopefully the first link of many in this thread. BTW you can use a handheld drill bit to cut the continuous strips.
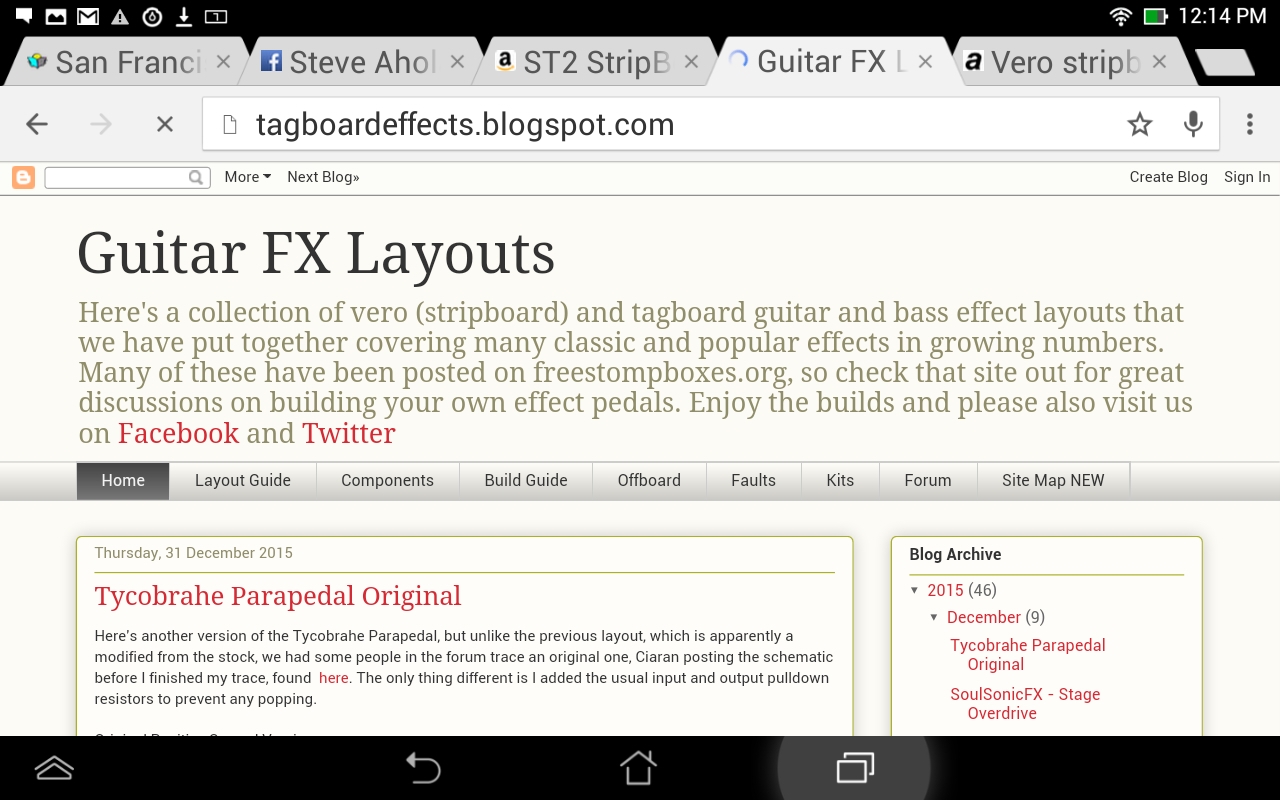


    Click image for larger version

Name:	Screenshot_2015-12-31-12-14-26.jpg
Views:	1
Size:	405.3 KB
ID:	870228

    Guitar FX Layouts

    * * * * * * *

    Here are links to the two sizes of stripboards I just ordered from Amazon along with some 2 pin PCB terminal blocks to attach flying leads.


    http://www.amazon.com/gp/product/B00PBGFD5A

    * * * * * *


    ST2 StripBoard, Uncut Strips, 1 Sided PCB, Size 2 = 100 x 80mm (3.94 x 3.15in): Amazon.com: Industrial & Scientific

    * * * * *


    Amazon.com: 30Pcs 2 Pole 5mm Pitch PCB Mount Screw Terminal Block 8A 250V: Computers & Accessories


    Steve Ahola

    P.S. Here is one board layout drawing from the tagboardeffects site:

    Last edited by Steve A.; 12-31-2015, 08:02 PM.
    The Blue Guitar
    www.blueguitar.org
    Some recordings:
    https://soundcloud.com/sssteeve/sets...e-blue-guitar/
    .

  • #2
    I know lots of folks like them, not the least because they provide a secure "wiggle-proof" base to secure components to. But I personally find them a pain, primarily because I get so little uninterrupted build time that it becomes too easy to lose track of what is connected where (especially when looking at the copper side). I understand other builders' choice to go with a posted layout, but I find more security in installing things close together that are connected together. Yeah, they can wiggle a bit and there is risk of fracture, but I have more risk of nonfunctionality resulting from omitted cuts or jumpers or counting how many strips over from location X, than I do from wiggling. Besides, I like to mod things post hoc and perf gives me more flexibility in modding. The other thing is, as a cheap SOB, I like to build up something first and see if I like it, before I decide to spend money on a chassis, knobs, and stompswitch. Perf lets me build and desolder parts to reuse the perfboard (yeah, yeah, I know, that's what a breadboard is for).

    This is not a diss at stripboard, just an incompatibility with my style. No shame in using either approach.

    Comment


    • #3
      Good points, Mark... perfboard would be much better than stripboard for experimenting and designing projects. I was referring specifically to copying schematics and layouts of projects designed by others. For me, specifically clones of classic pedals. (As Mr. D. wrote about me in a fax to T.W. I am a "thieving pirate"... )

      BTW there are variations of the Vero stripboard which might work better for people like you. One of them uses a double-sided board with the strips running vertically on one side and horizontally on the other, so you can get tighter board arrangements.

      Thanks for pointing out some of the drawbacks.

      Steve A.
      The Blue Guitar
      www.blueguitar.org
      Some recordings:
      https://soundcloud.com/sssteeve/sets...e-blue-guitar/
      .

      Comment


      • #4
        Enter Vero stripboards, a real game changer, especially for the sharing of designs. No need for a precise drawing of the board layout to be copied one way or another. I consider the concept to be potentionally as revolutionary as BASIC was to PC programming back in the 80s.
        FWIW the very first "personal" computer , way before the groundbreaking "Altair" project published in Popular Electronics, was entirely built on stripboard.
        Juan Manuel Fahey

        Comment


        • #5
          I've certainly been using it since the mid-70s, but it had been around here in the UK for a long time by then. The first VCS3 synths (and perhaps the most desirable) were built on Veroboard, so that means it was on the market at least in 1969.

          There used to be two different pitches, but the heavier/coarser pitch version looks like it vanished years ago. It could handle much more current and gave better strip-to-strip voltage isolation. You could build a tube amp on it.

          The trick with using it nowadays is to print out the layout at 1:1 and stick this to the top surface of the board, ensuring the holes line up. Then poke through the locations where the track needs to be cut in turn with a piece of wire (leave it poking through as a 'witness') and systematically do all the track cuts. Next, get all the wire links in place, then the components. I leave the layout in place - it looks pretty neat, especially if you seal it with a quick shot of clear coat before working on it. I also recommend using 'Vero pins' to attach flying leads.

          Because lead lengths vary a lot, due to the nature of the layouts, I use an offcut as a gauge for bending component legs so that they align properly. The main thing is to watch for solder bridges, missed cuts and missed links.

          There's an upmarket version available made from fibreglass with gold-plated tracks. That's really good if you can find it. I'm down to my last bit so need to get looking. Some of the cheap stuff has misaligned holes that are a real nuisance because you can't get a nice even cut when you're doing the track breaks.

          One more tip - always cut with the copper side up and at a shallow angle. Cutting copper-side down can pull the tracks away along the cut line.

          I use the old version of DIYLC (non-java version) to create layouts.

          Comment


          • #6
            For FX pedals I think this style of prototype board is a good option. It is available in convenient sizes (4x6 and 5x7 cm e.g.), and does not restrict component layout in any way.
            Attached Files

            Comment


            • #7
              Another really good method is to use a Manhattan Island cutter with regular copper-clad board and surface-mount regular leaded components. It makes for a very neat construction.

              Comment


              • #8
                Originally posted by Mick Bailey View Post
                Another really good method is to use a Manhattan Island cutter with regular copper-clad board and surface-mount regular leaded components. It makes for a very neat construction.
                Thanks for the heads up on that! A quick google search turned up all sorts of information on that technique along with this video.

                PCB Tip, tip for creating pads on continuously co…:


                http://youtu.be/uFLdDTT5-wk

                So does anybody have any stripboard layouts (or layout sites) they want to share?

                Steve Ahola
                The Blue Guitar
                www.blueguitar.org
                Some recordings:
                https://soundcloud.com/sssteeve/sets...e-blue-guitar/
                .

                Comment


                • #9
                  Island construction originated in RF circuits, though H-K made an early amp using the technique. It's also pretty good for combining leaded and SMD parts;

                  Click image for larger version

Name:	Island.jpg
Views:	1
Size:	28.7 KB
ID:	840503

                  There are plenty of stripboard layouts lurking here;

                  http://http://www.aronnelson.com/gallery/main.php

                  Comment

                  Working...
                  X